Herb Drying Tips: Garbling and Passive Solar Drying Shed

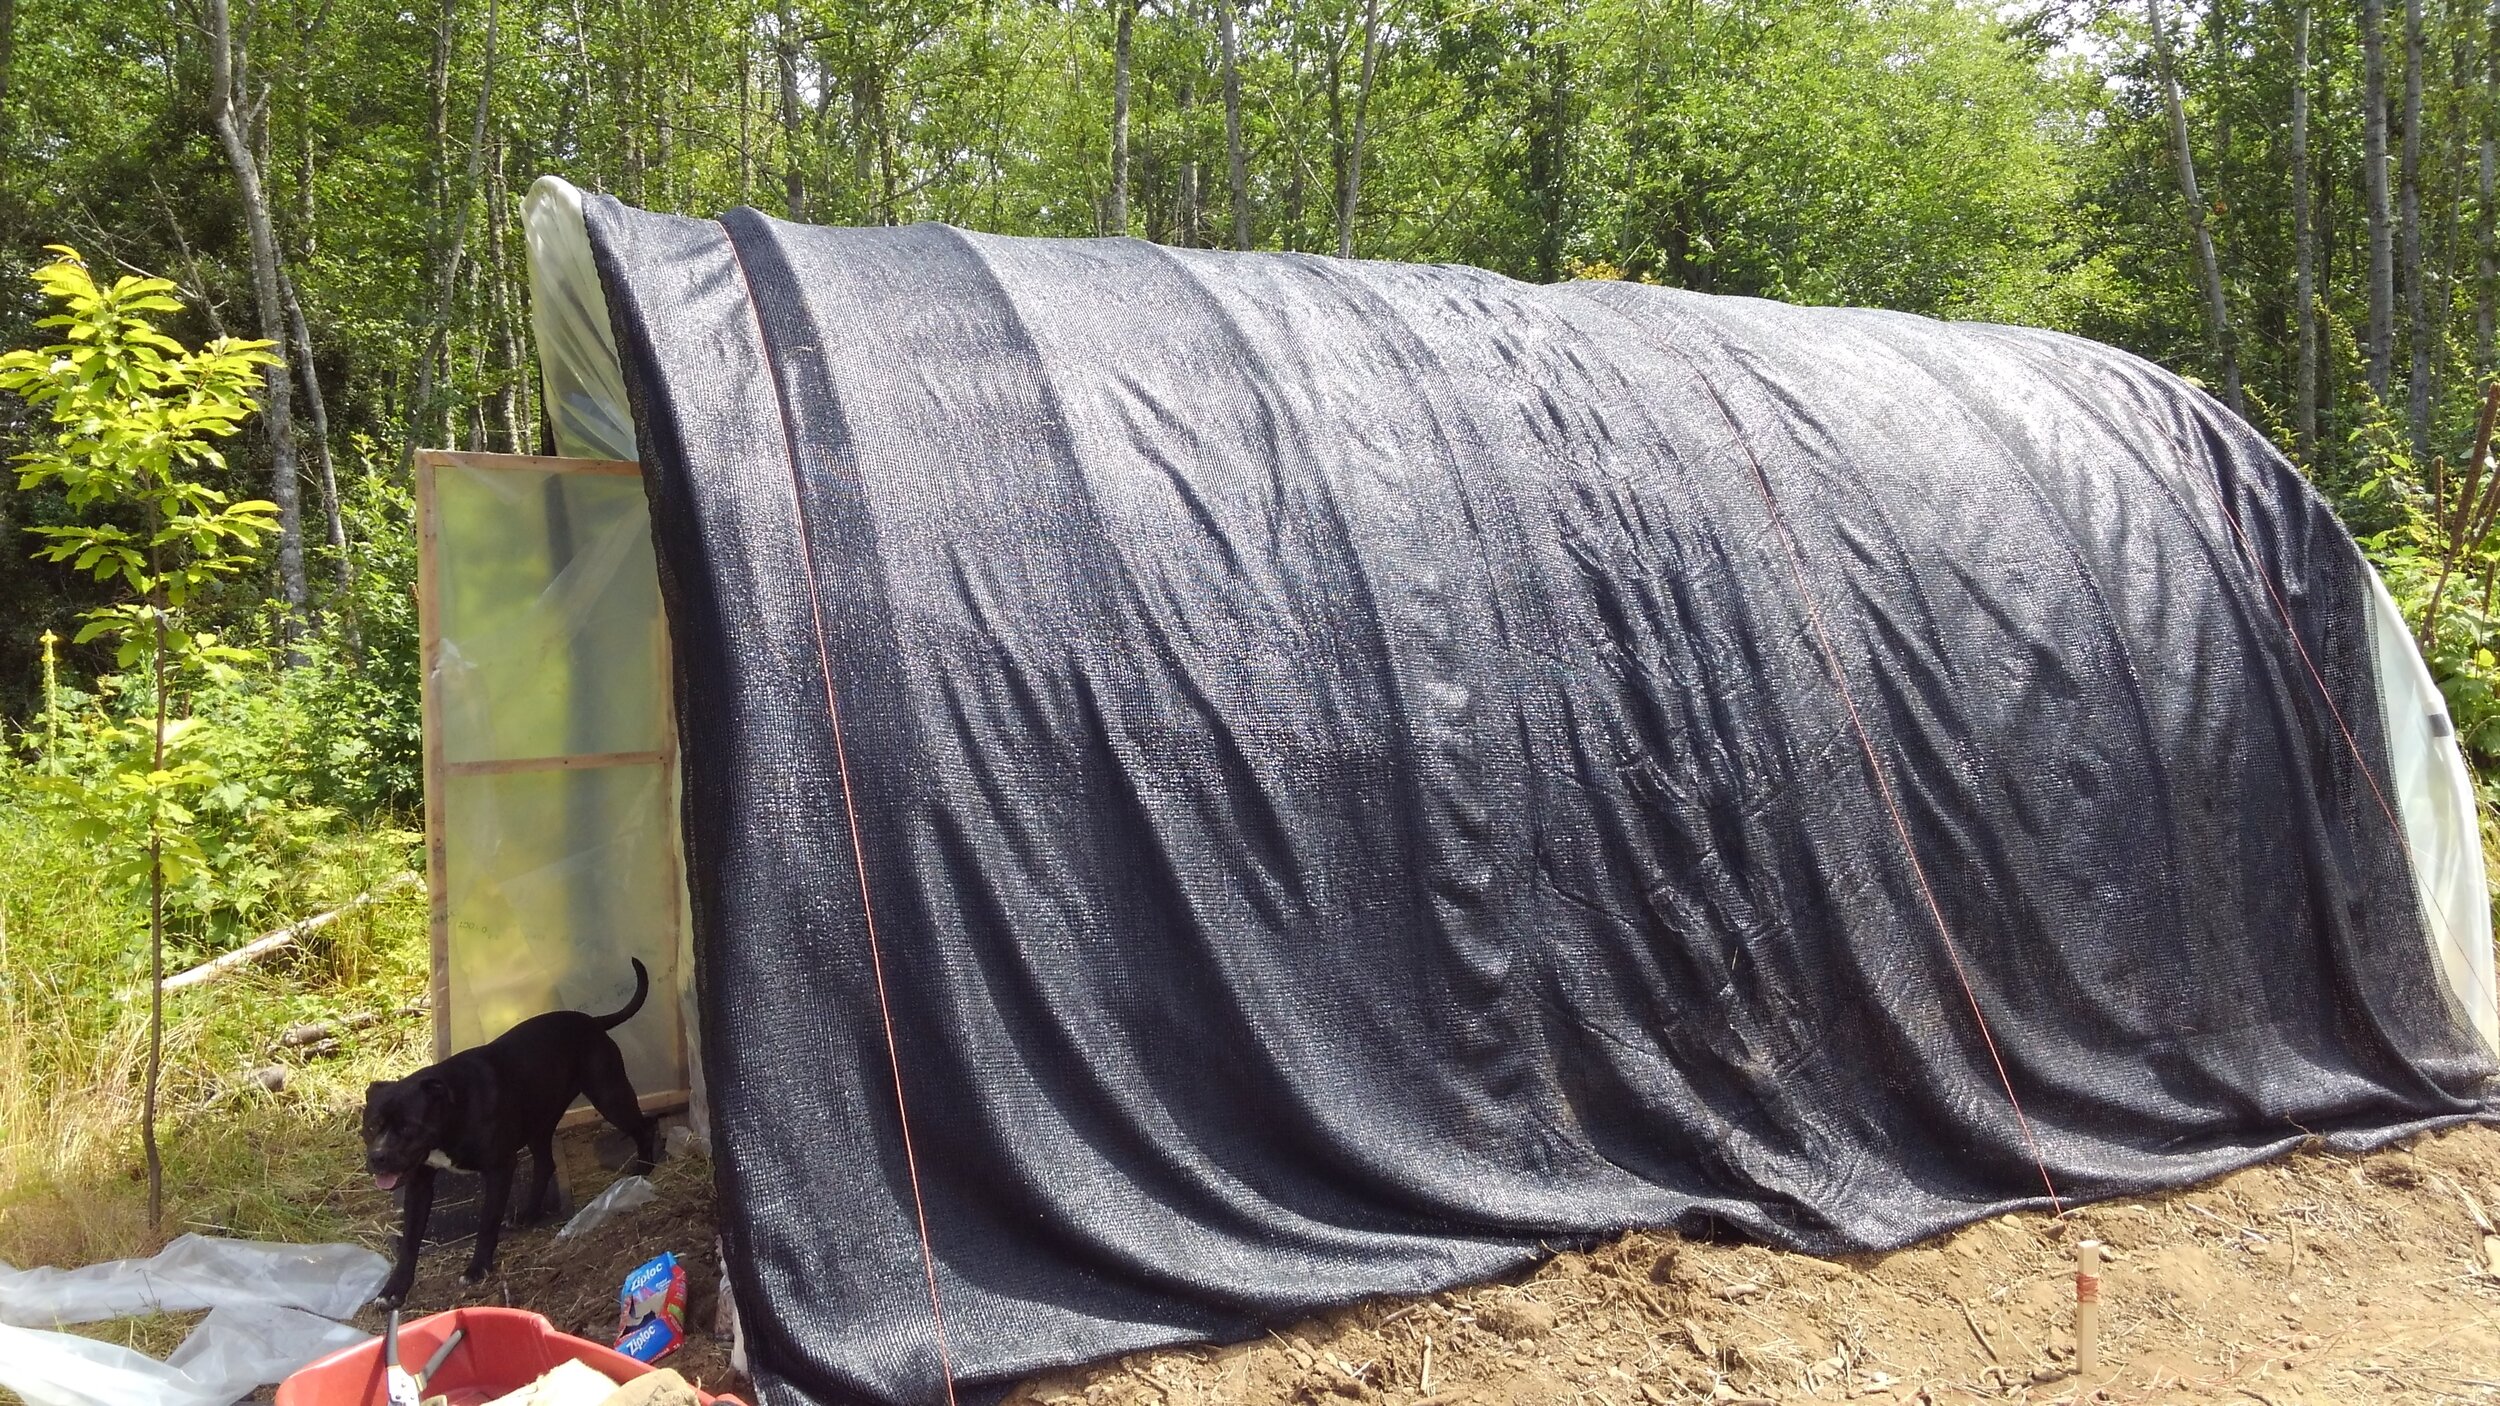
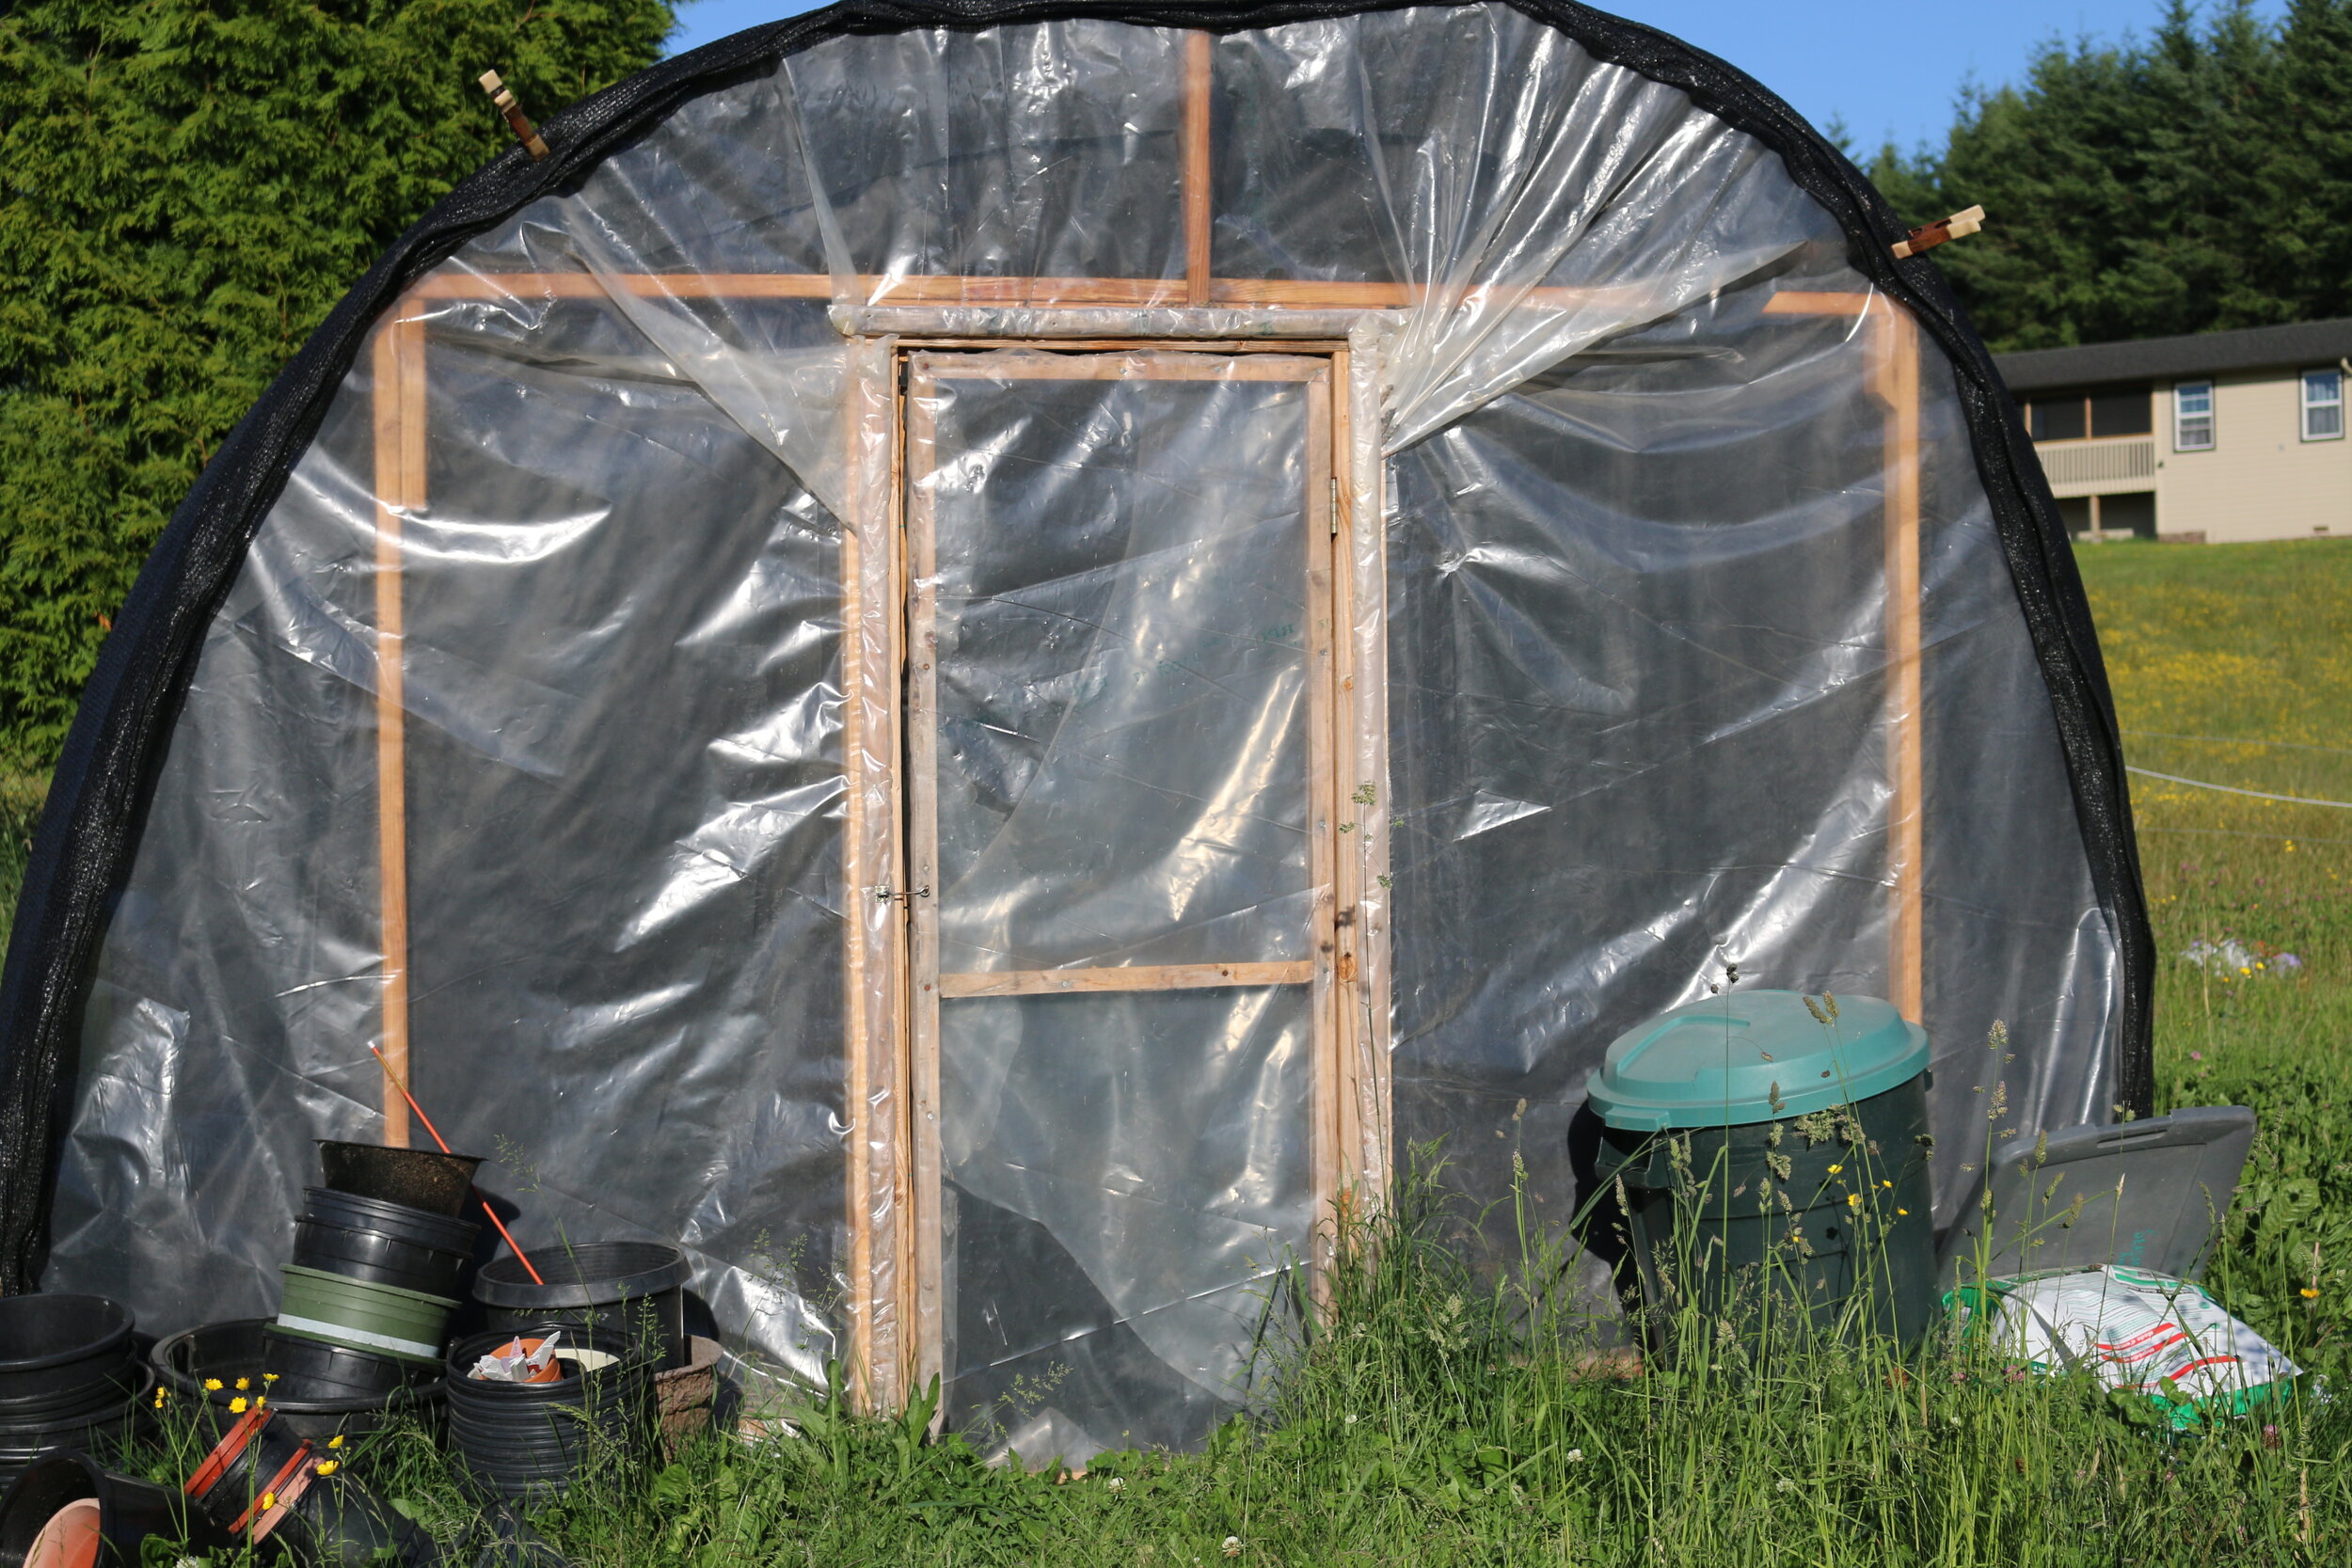
Hey folks, just wanted to share some herb drying tips, as I’ve had several folks ask about my set up lately. When I started my farm in 2017, I was completely off the grid, with no electricity for drying. So, i had to get creative! I researched and found that both Peg Shafer’s Chinese Medicinal Herb Farm, and Jeff Carpenters Zack Woods Herb Farm both had passive solar drying sheds, on a large scale, to dry their herbs. It was an affordable solution for me, easy to build, and requires no electrify. I, of course didn’t need one as big as theirs. Its quite a simple structure really, its just a general hoop house with metal or pvc hoops, green house plastic and at least 85% shade cloth over top, to prevent the UV rays from damaging the herbs. I also put landscape fabric on the sides of the house, as well as a door frame and some support beams to strengthen the structure from the wind. Instead of wooden racks which would have been heavy, expensive and time consuming to make, I bought collapsible herb drying racks. They are about $14 per rack, light weight, easy to move and clean and collapse down to a small ball for storage. I also put in a door and some cross ventilation windows. I suppose you could put fans in there too, but I haven’t found it necessary.
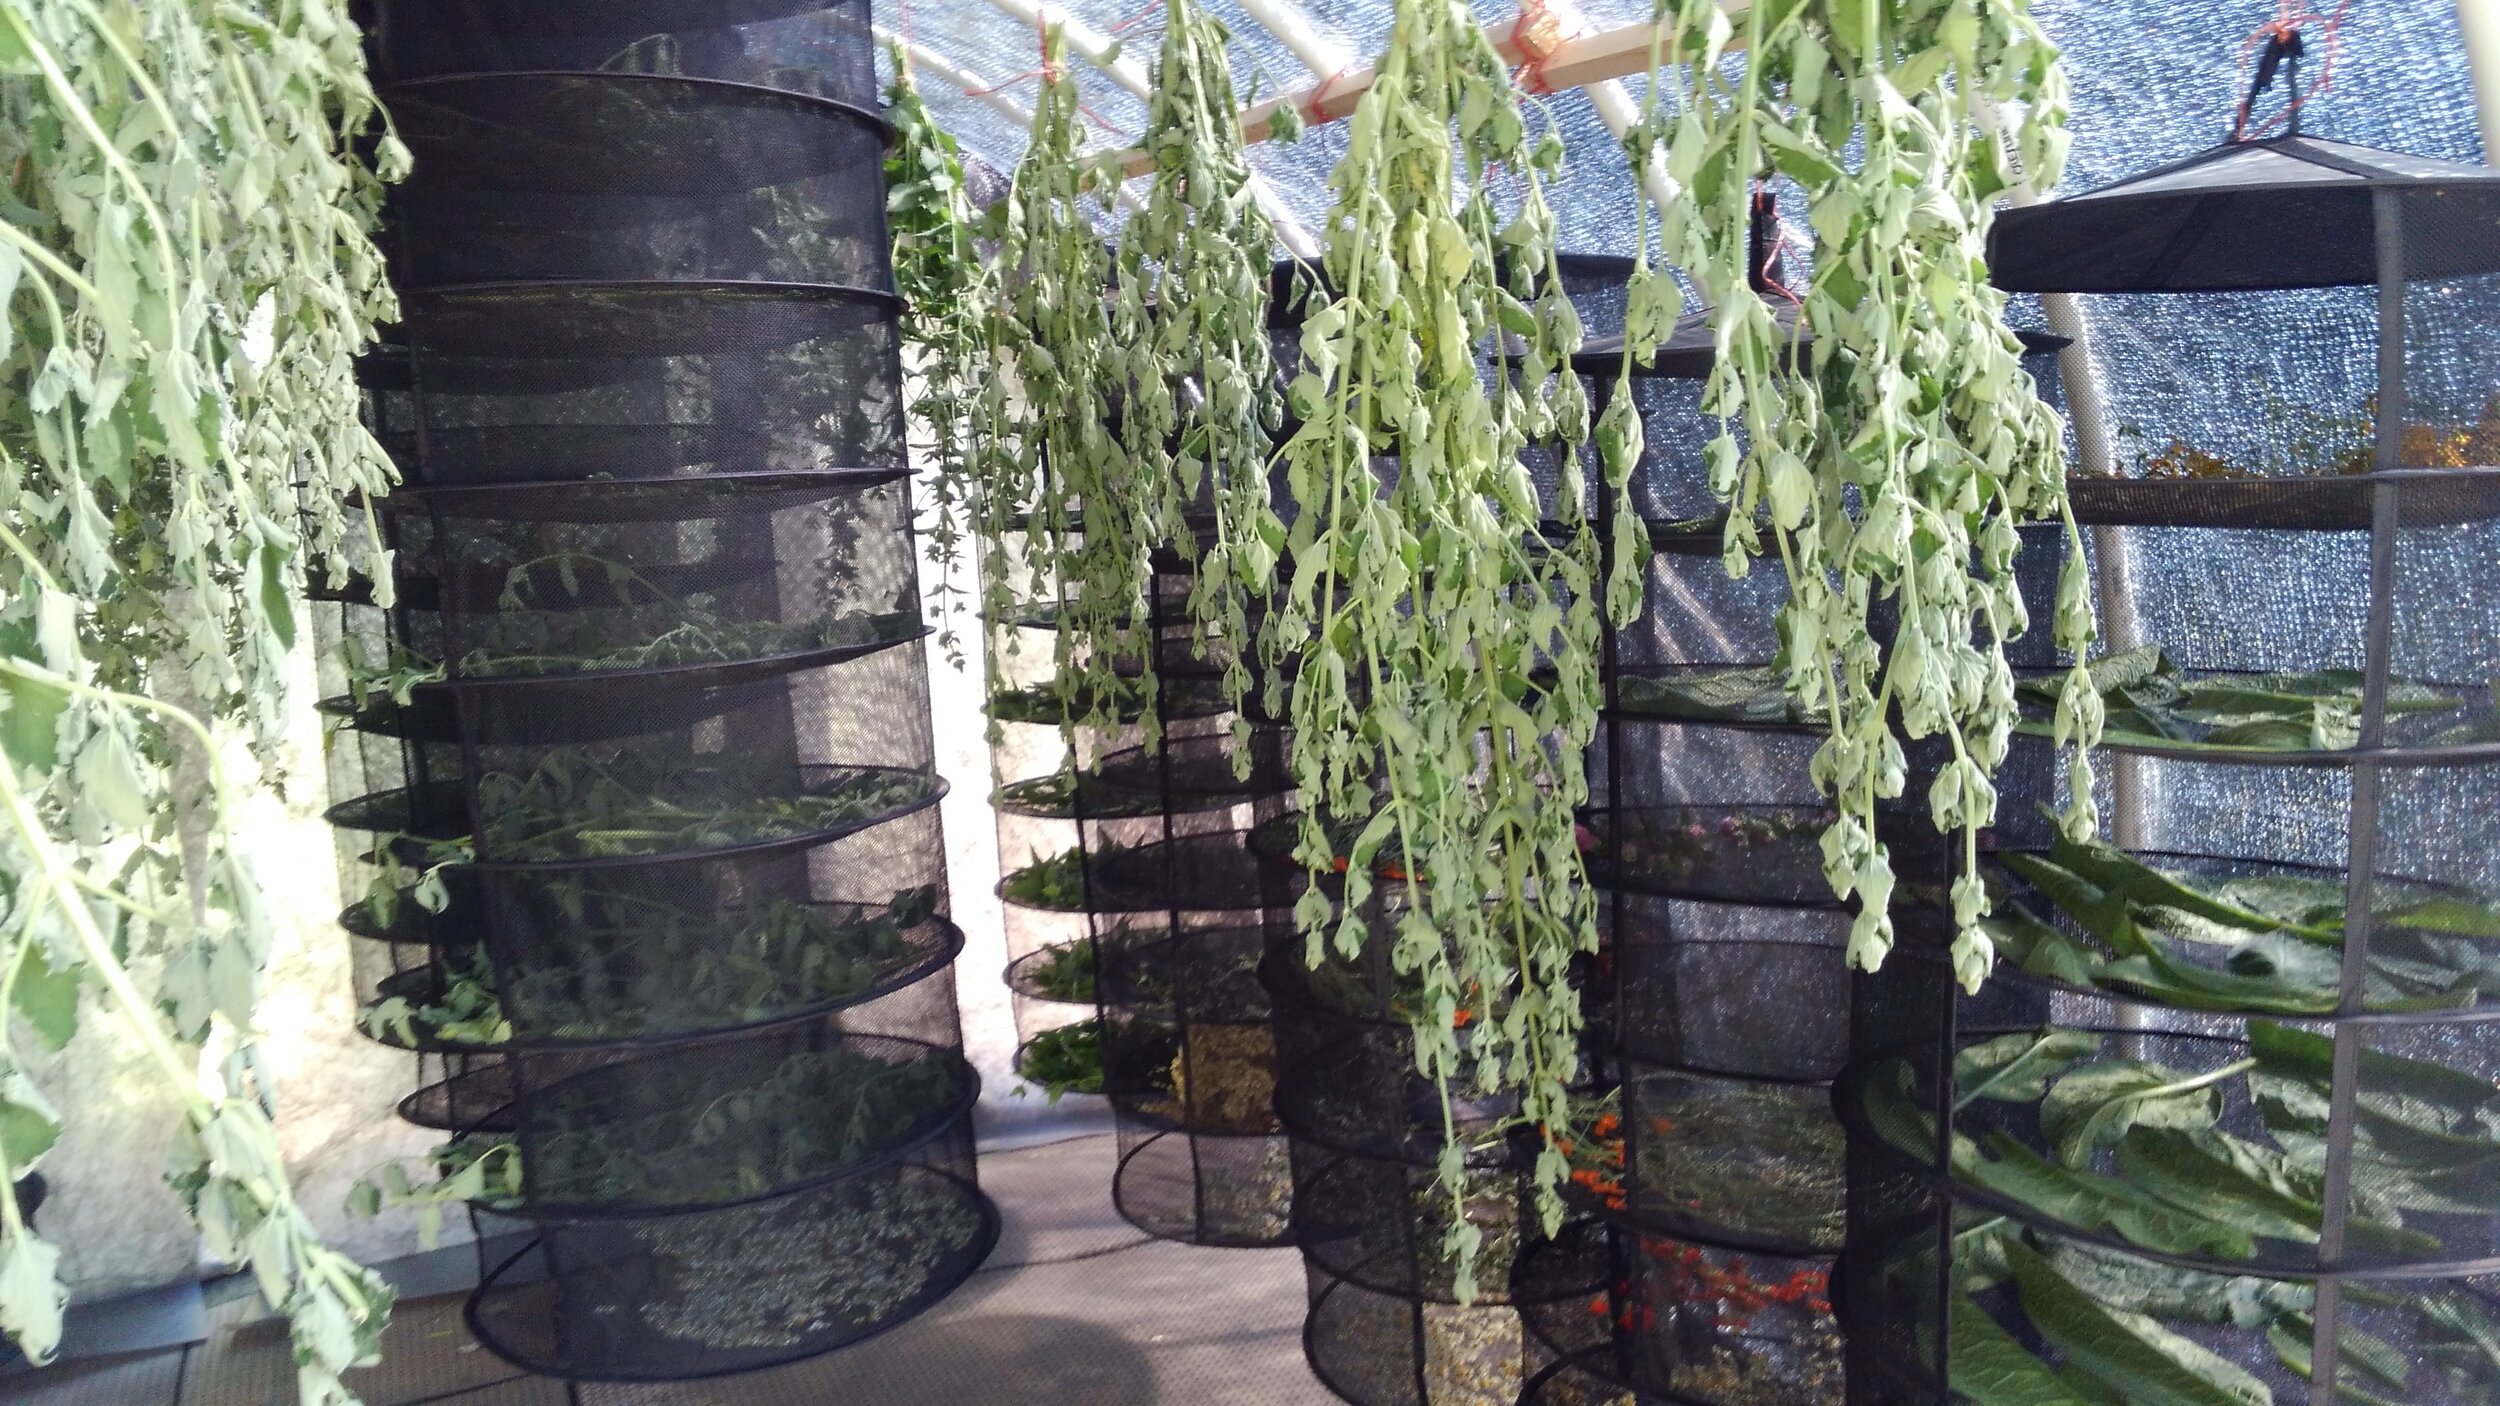
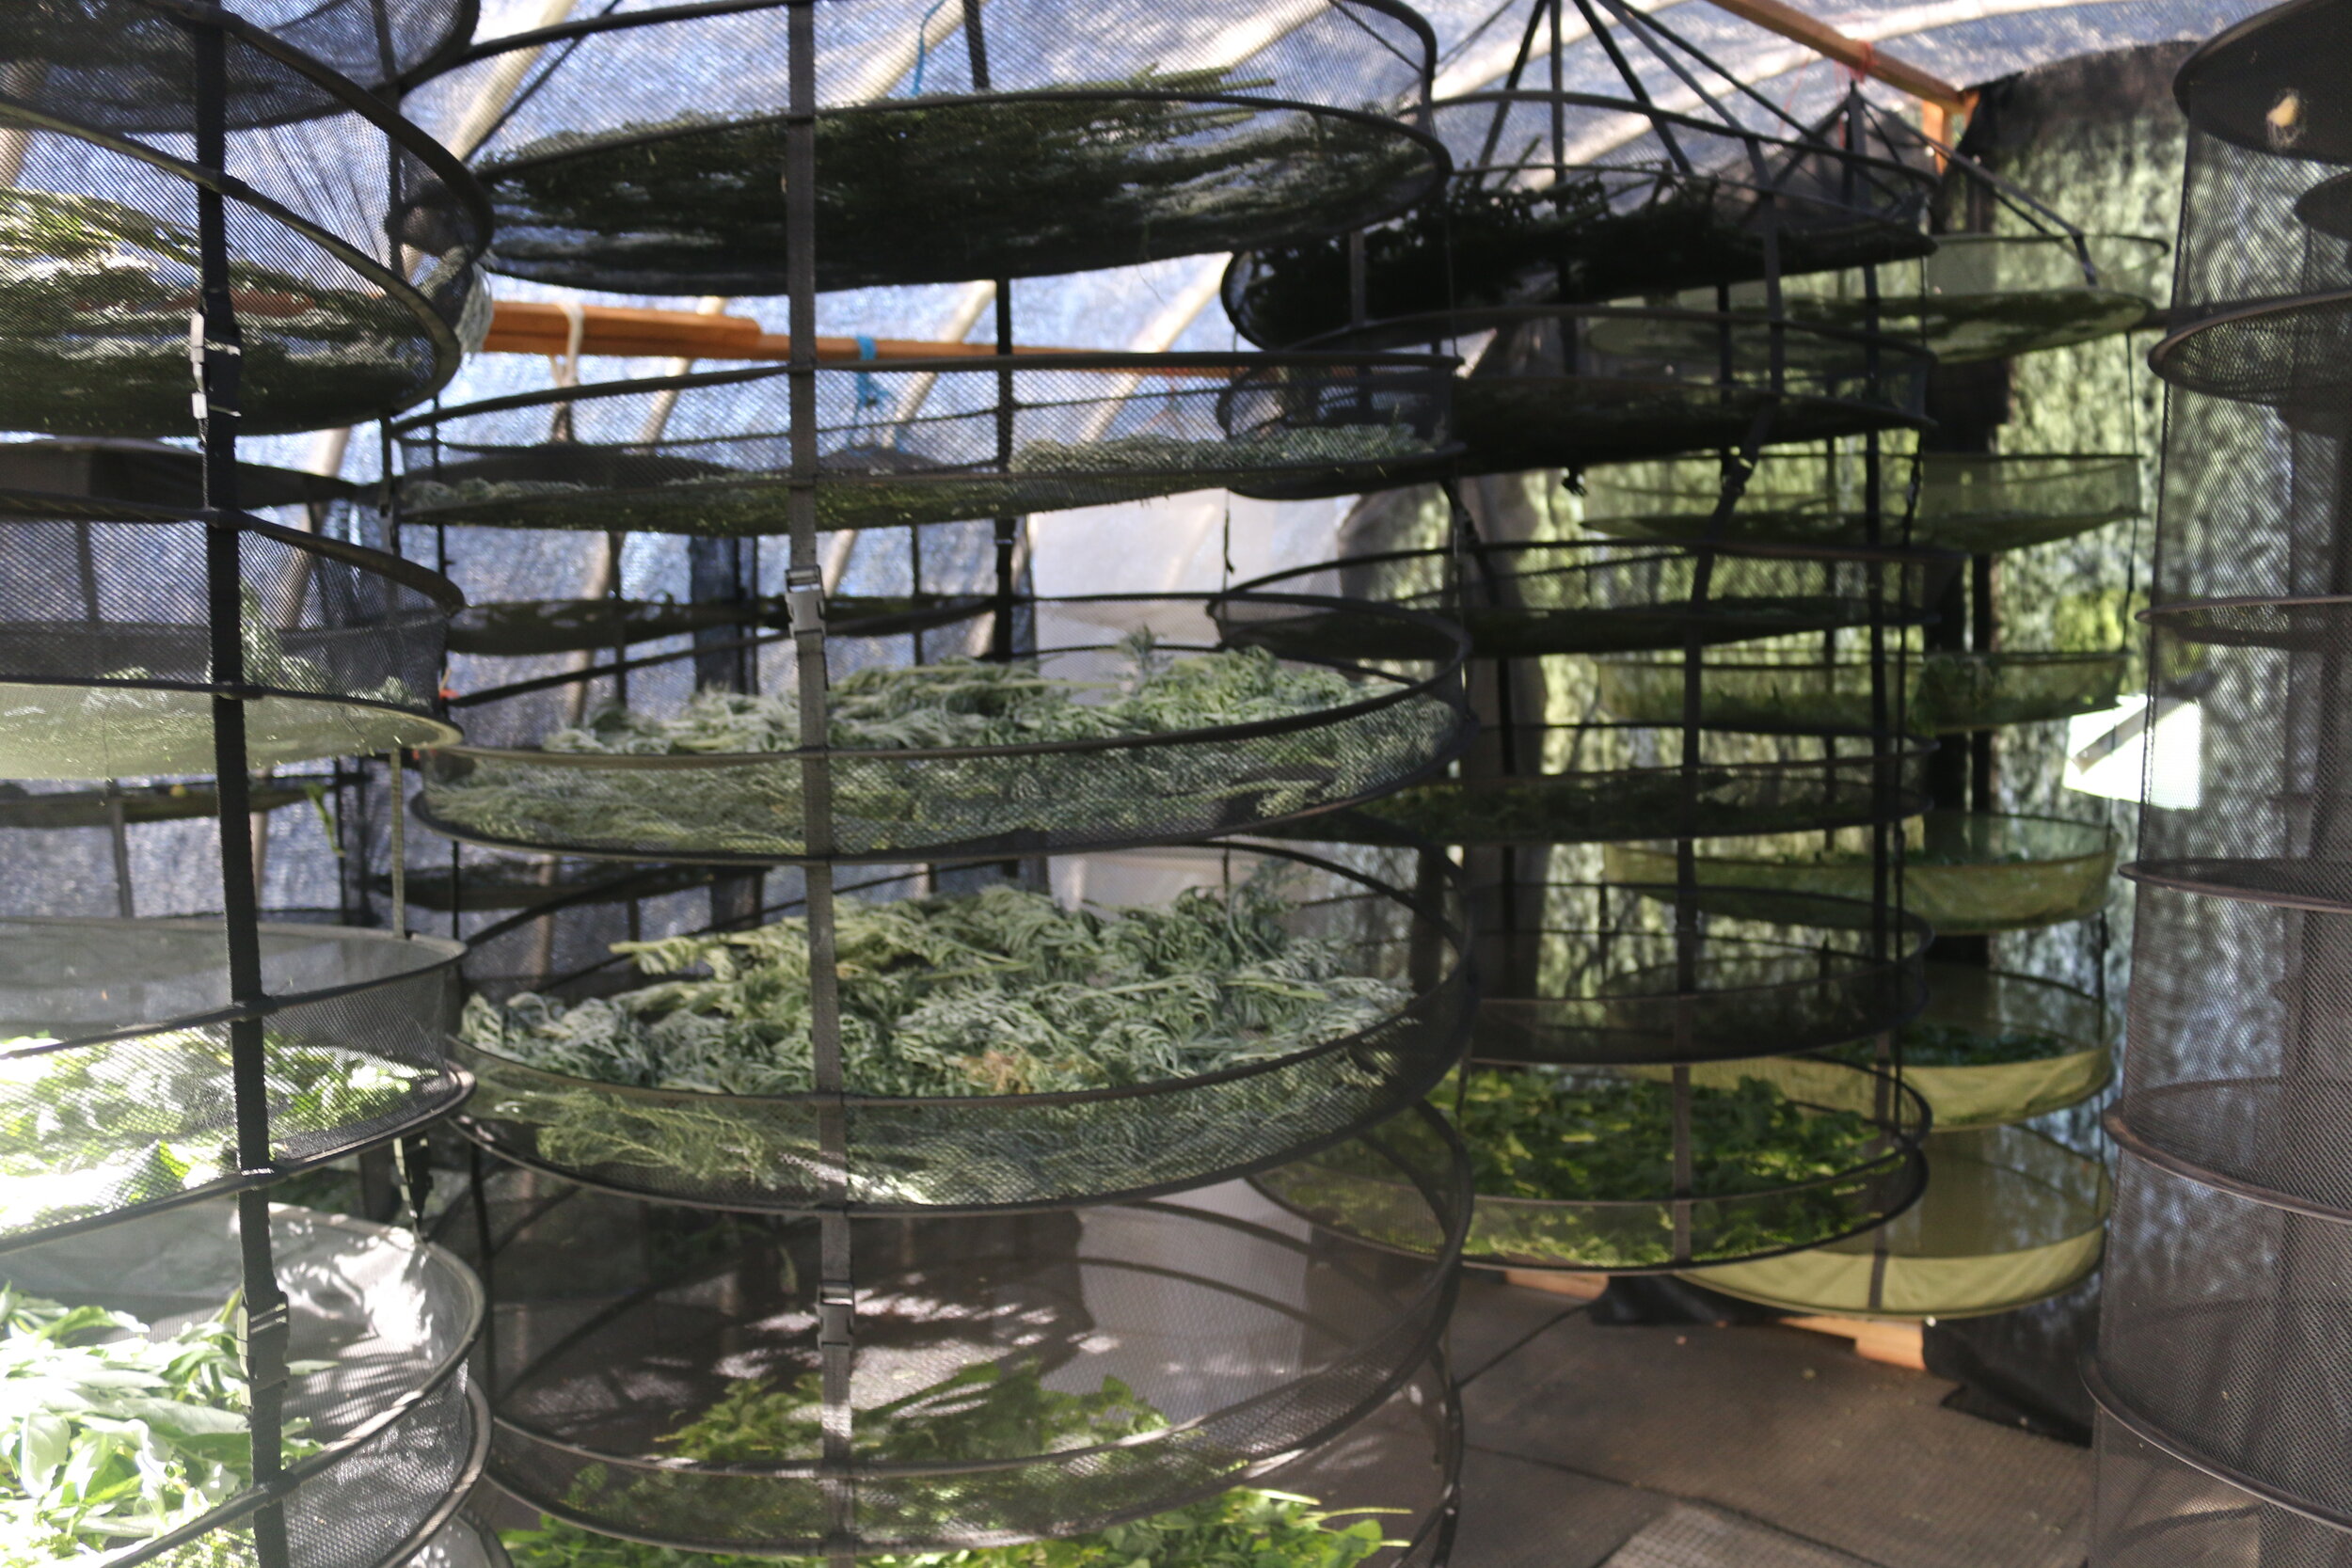
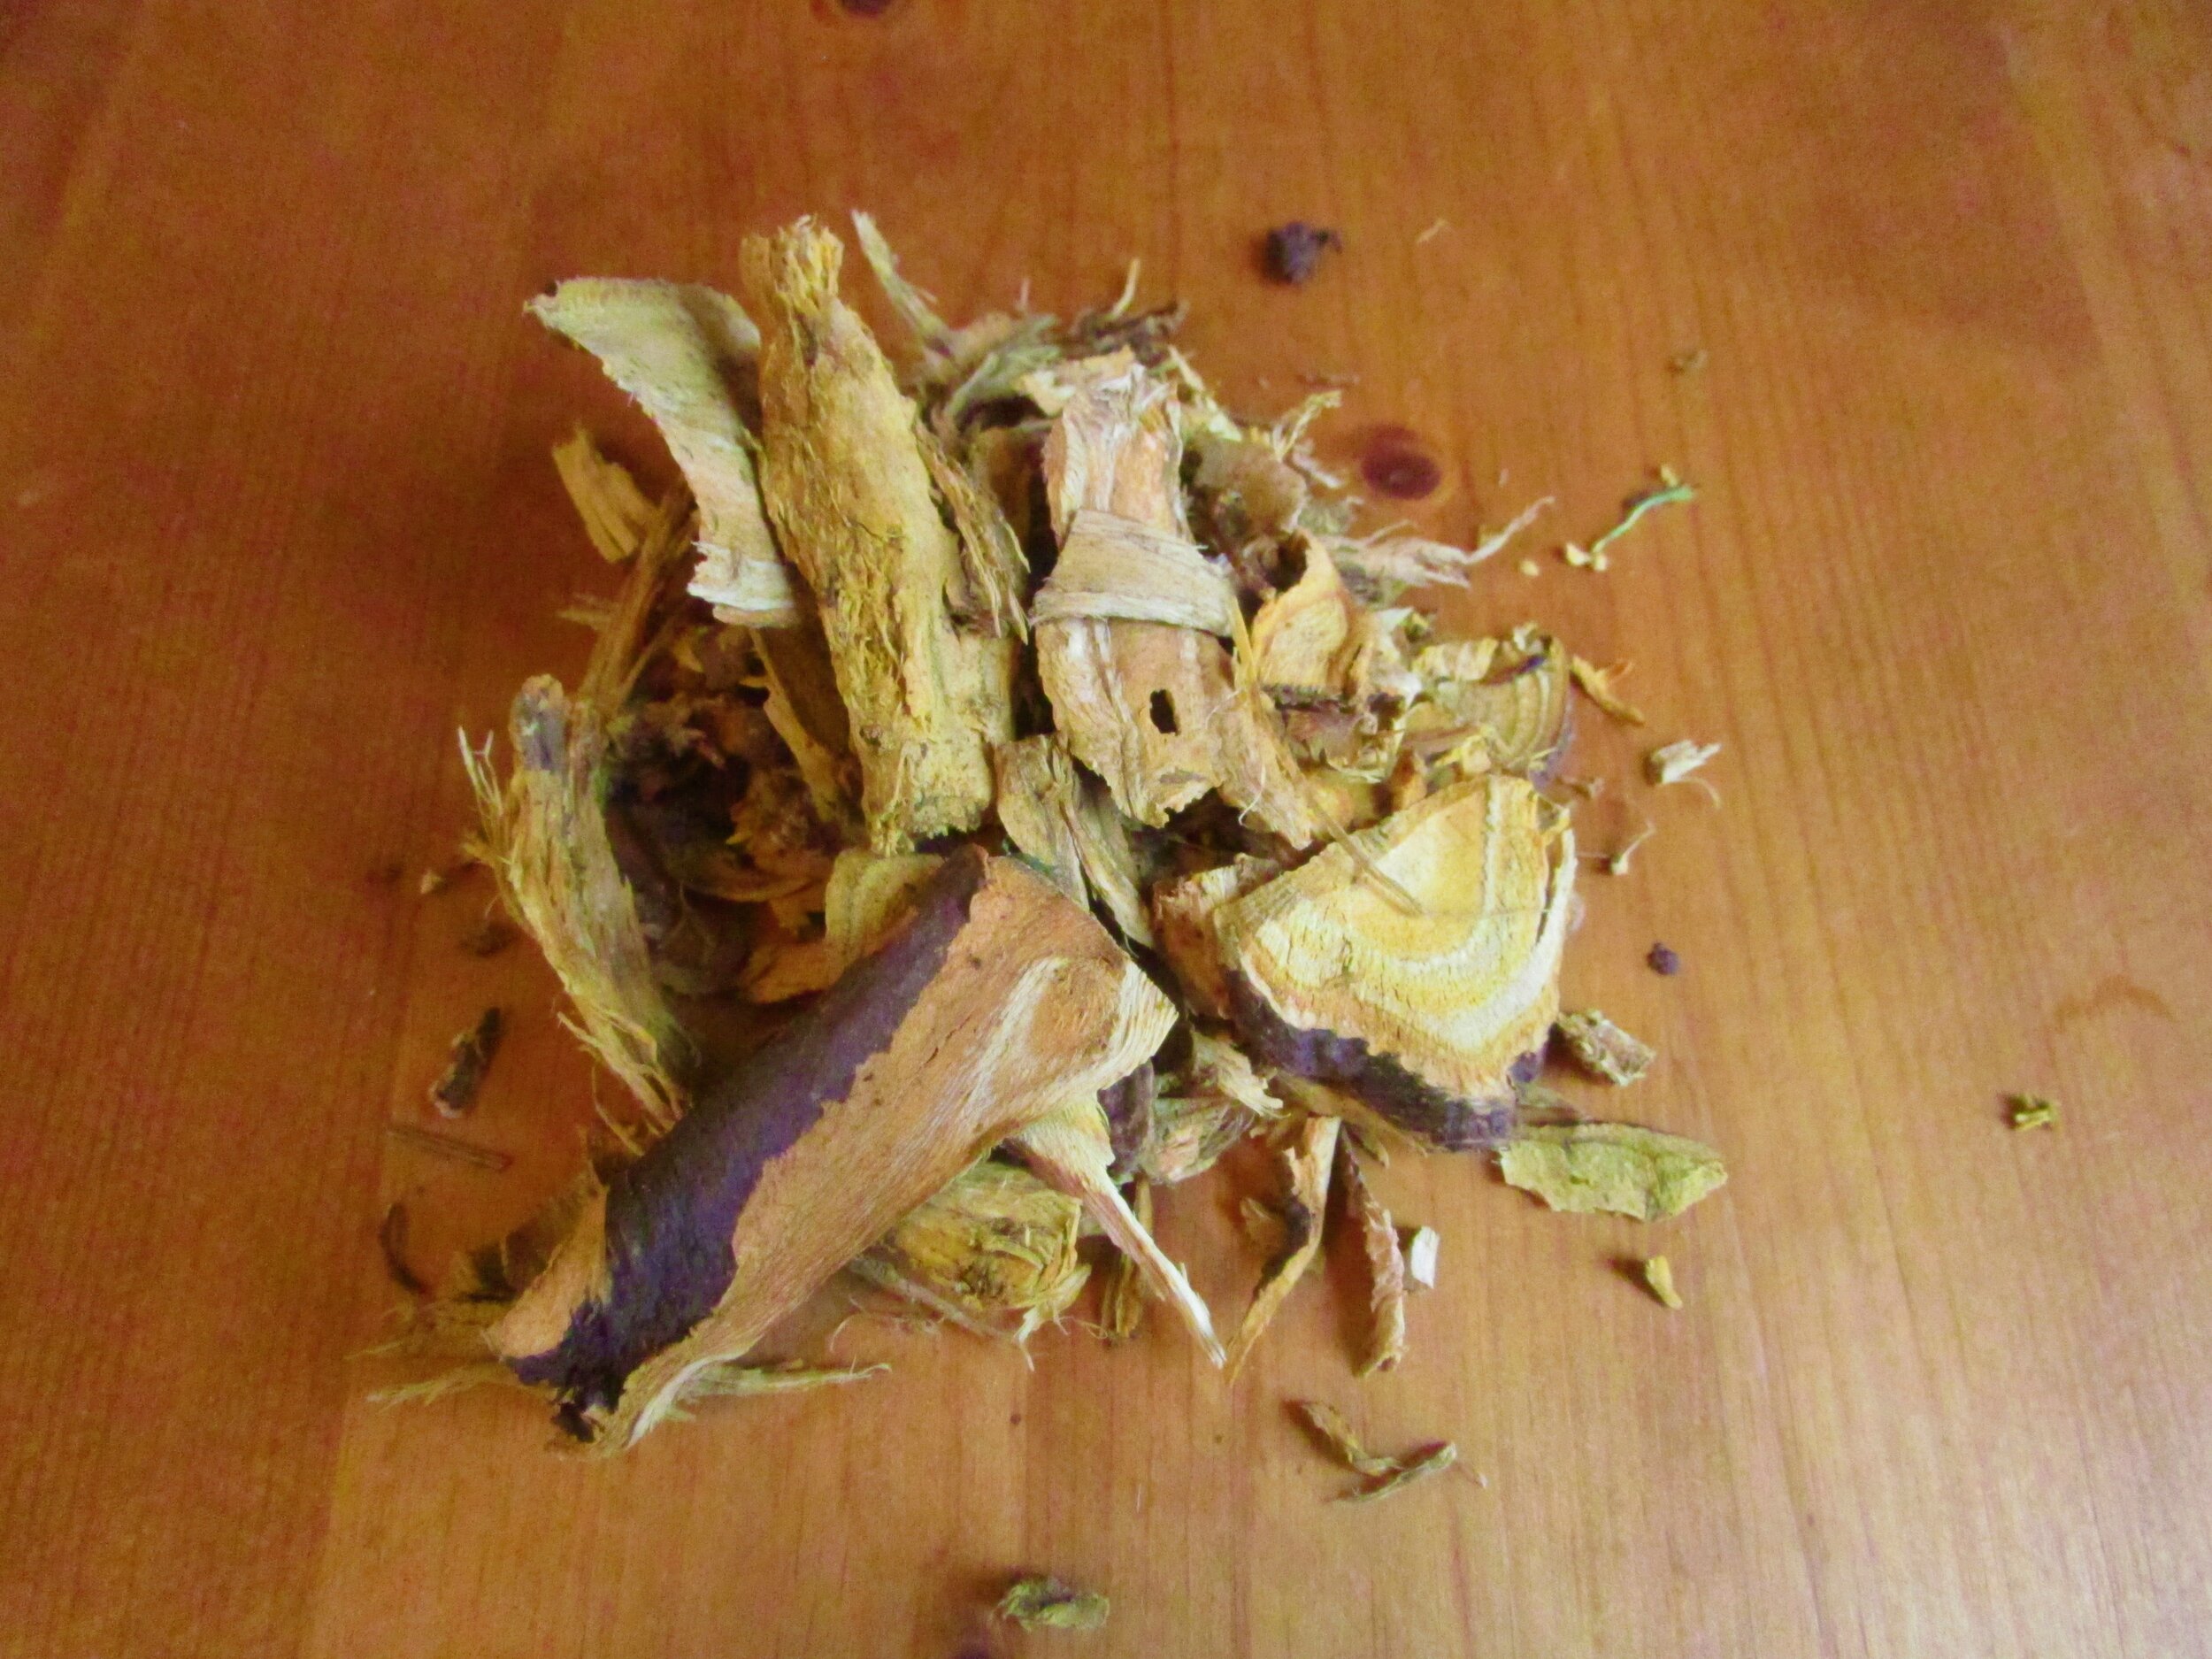
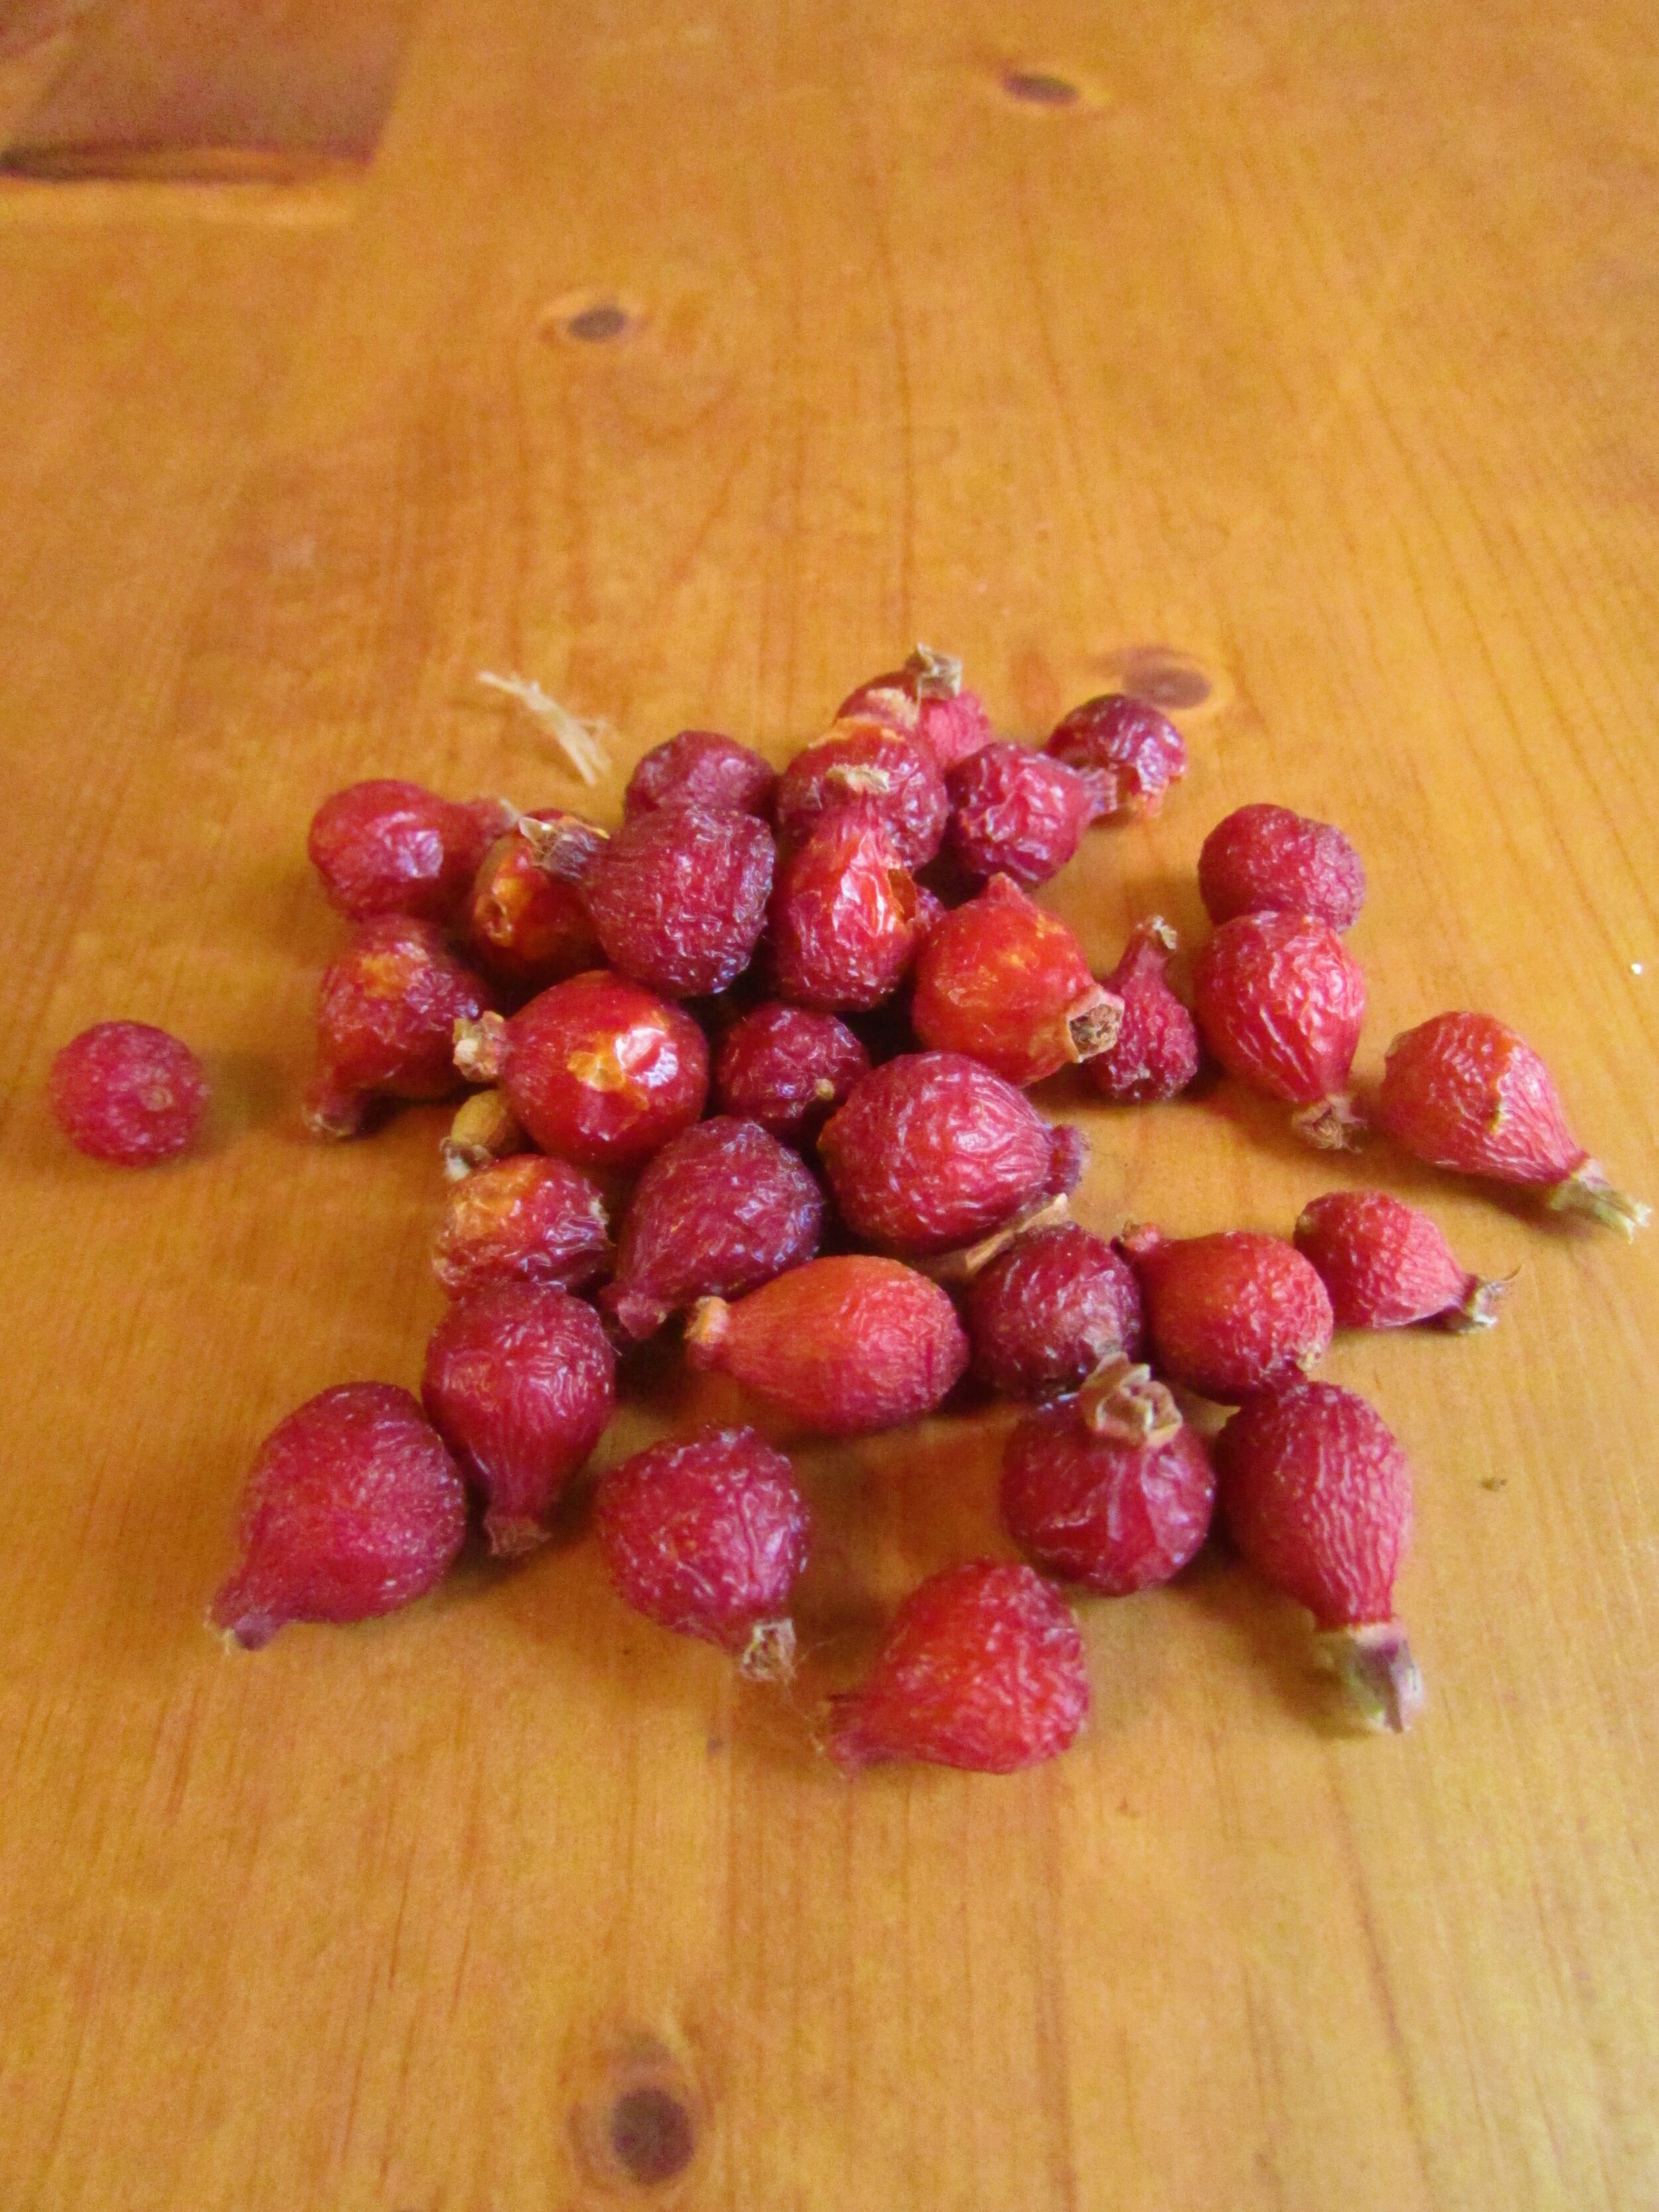
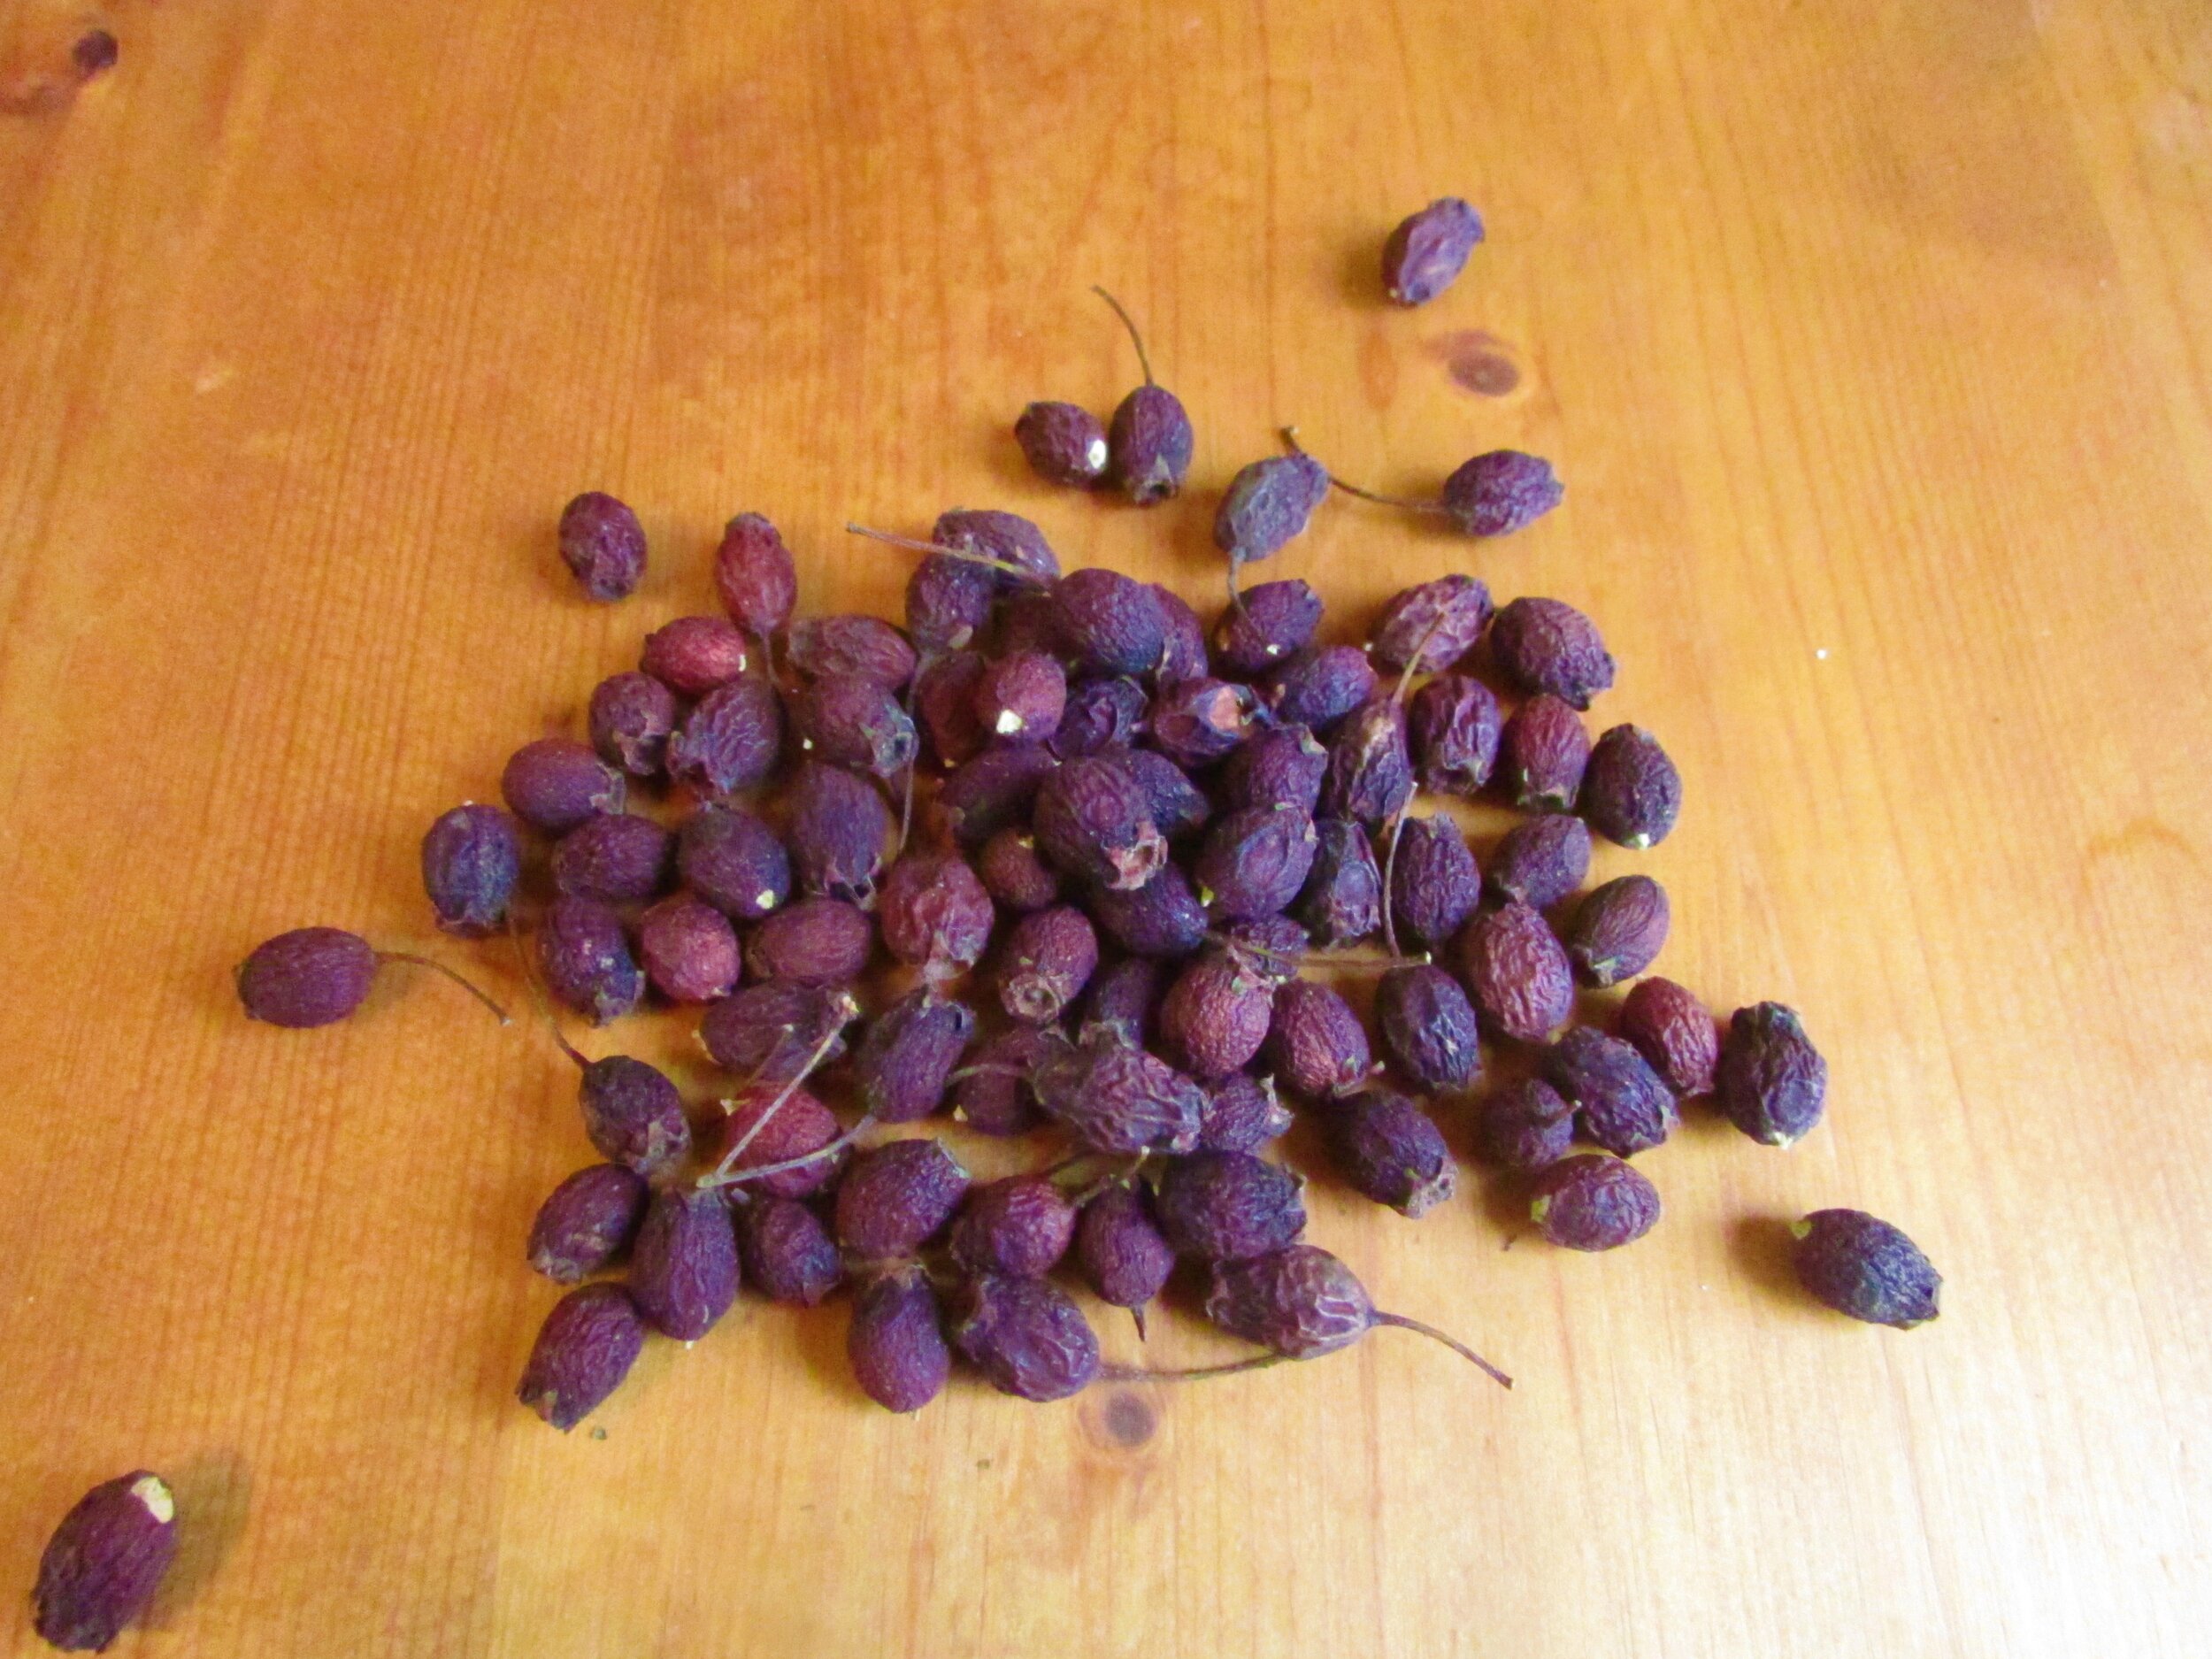
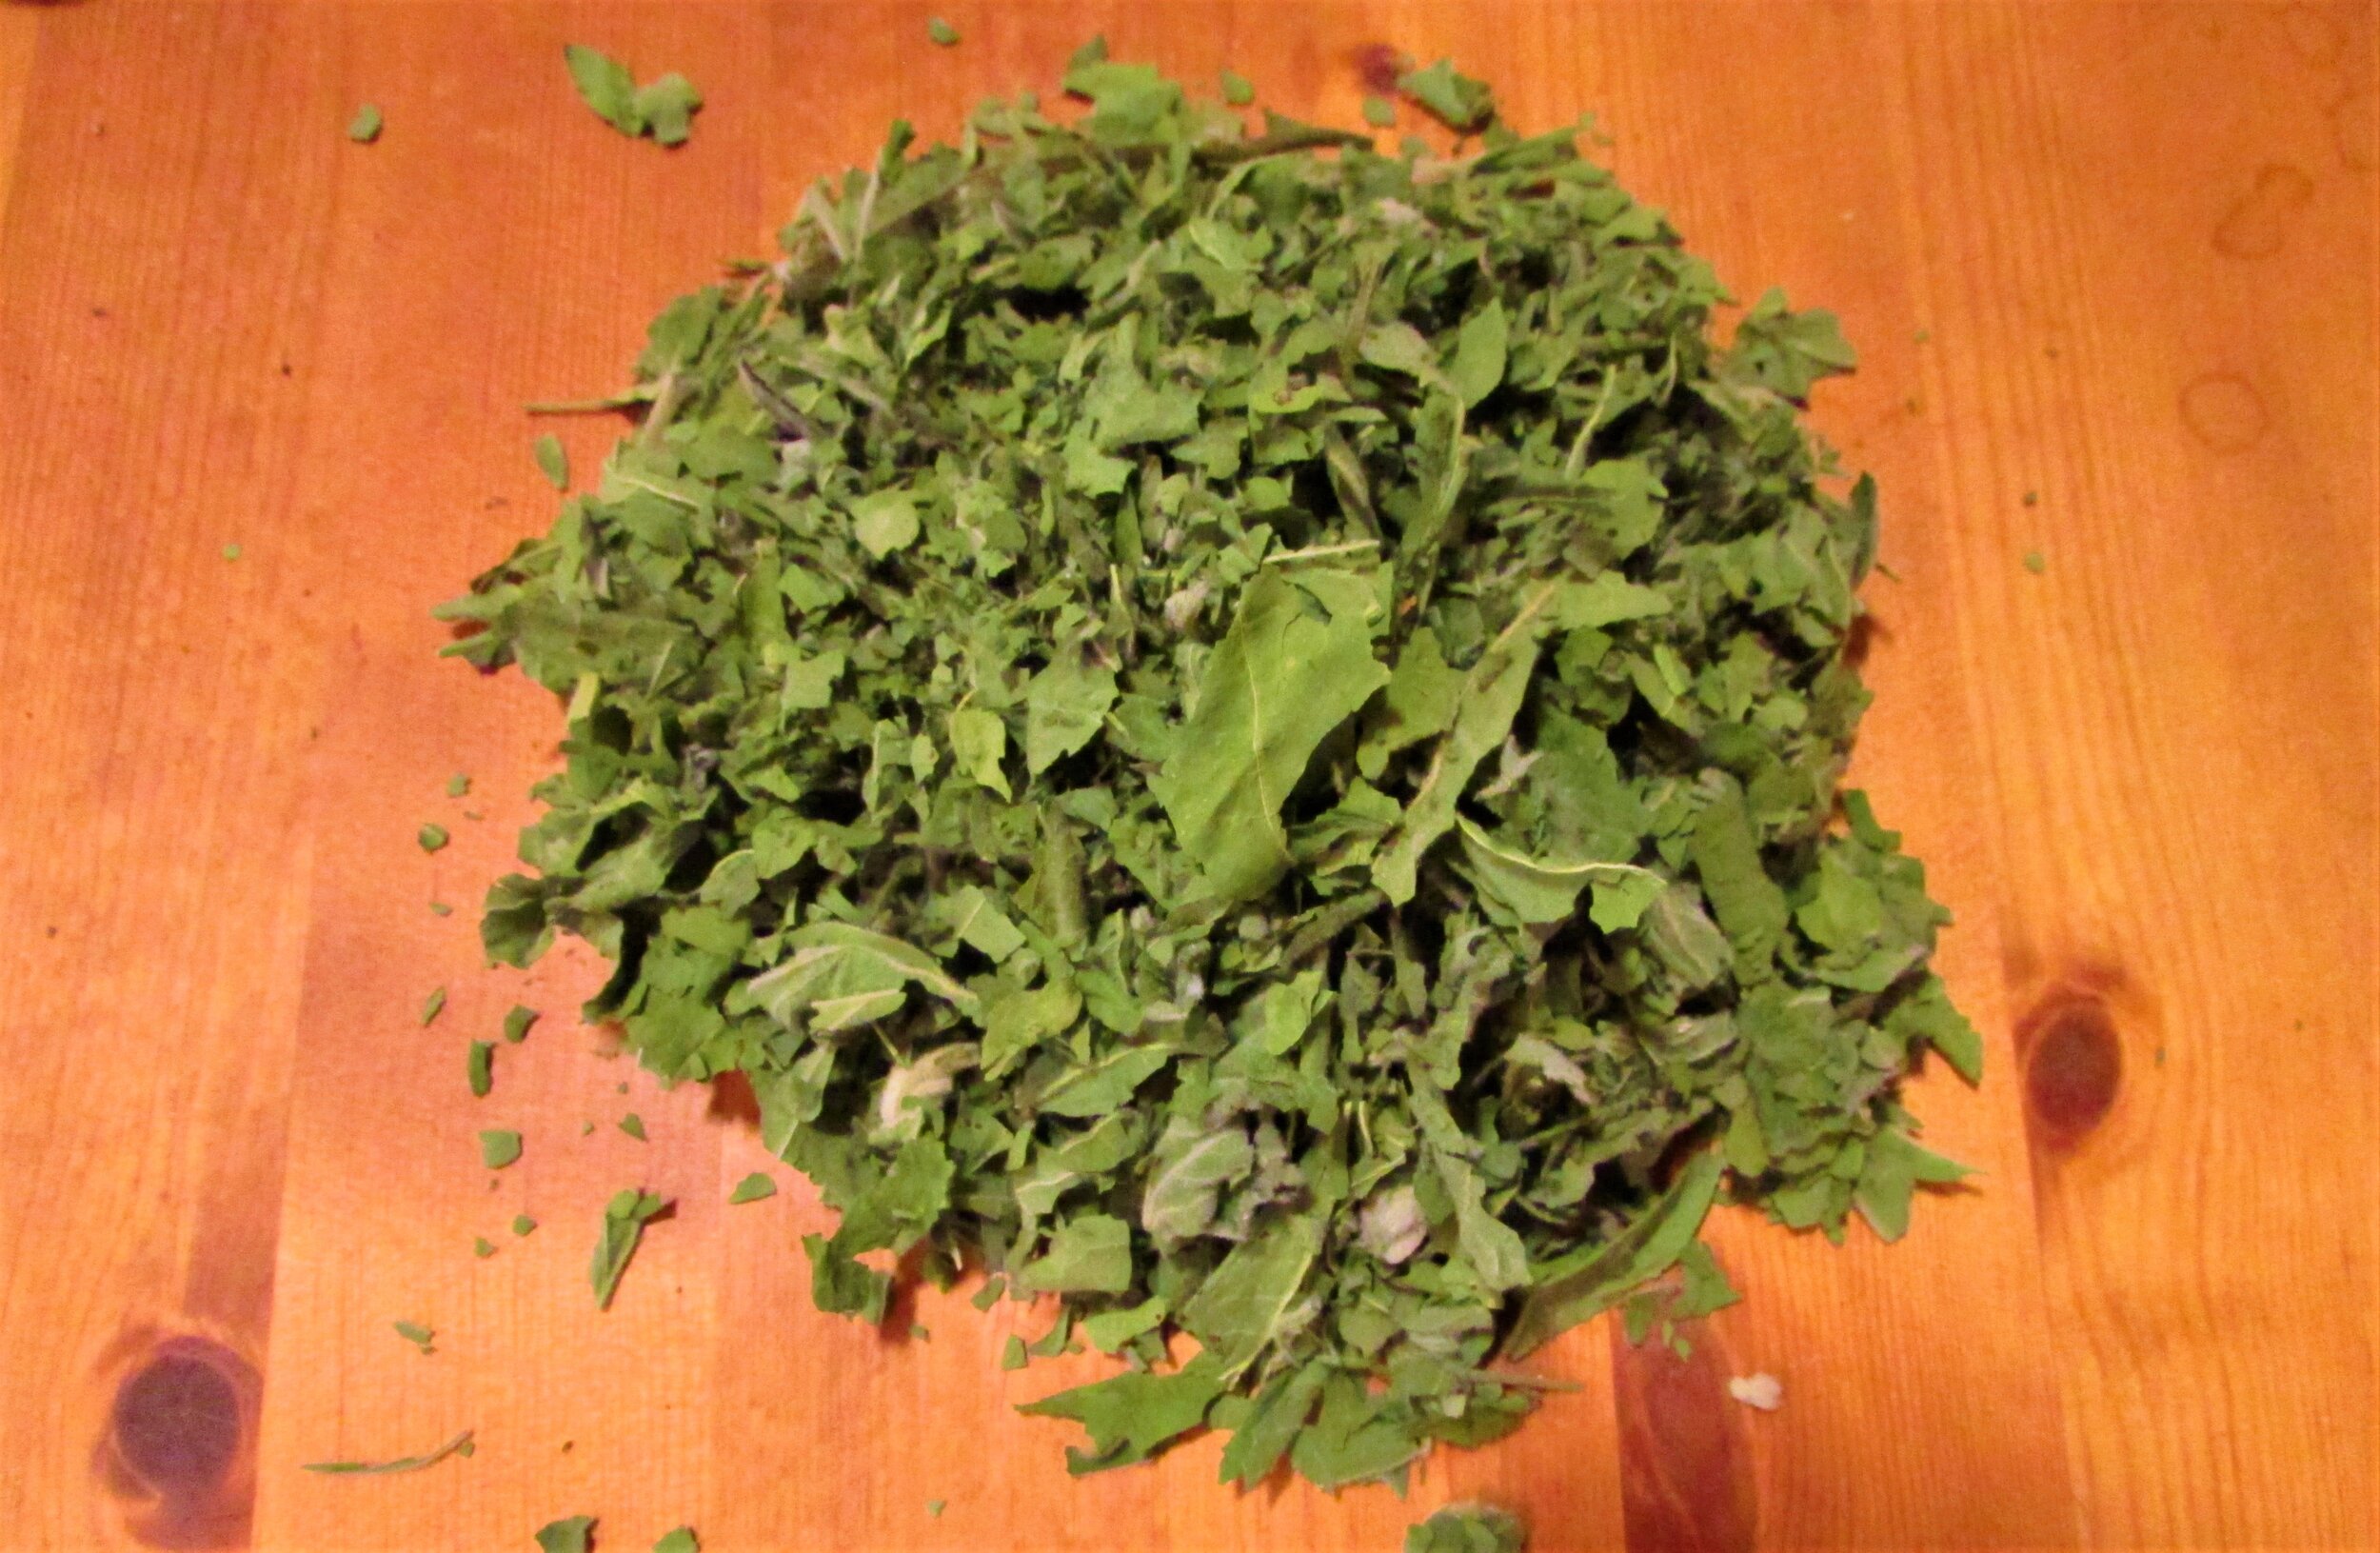
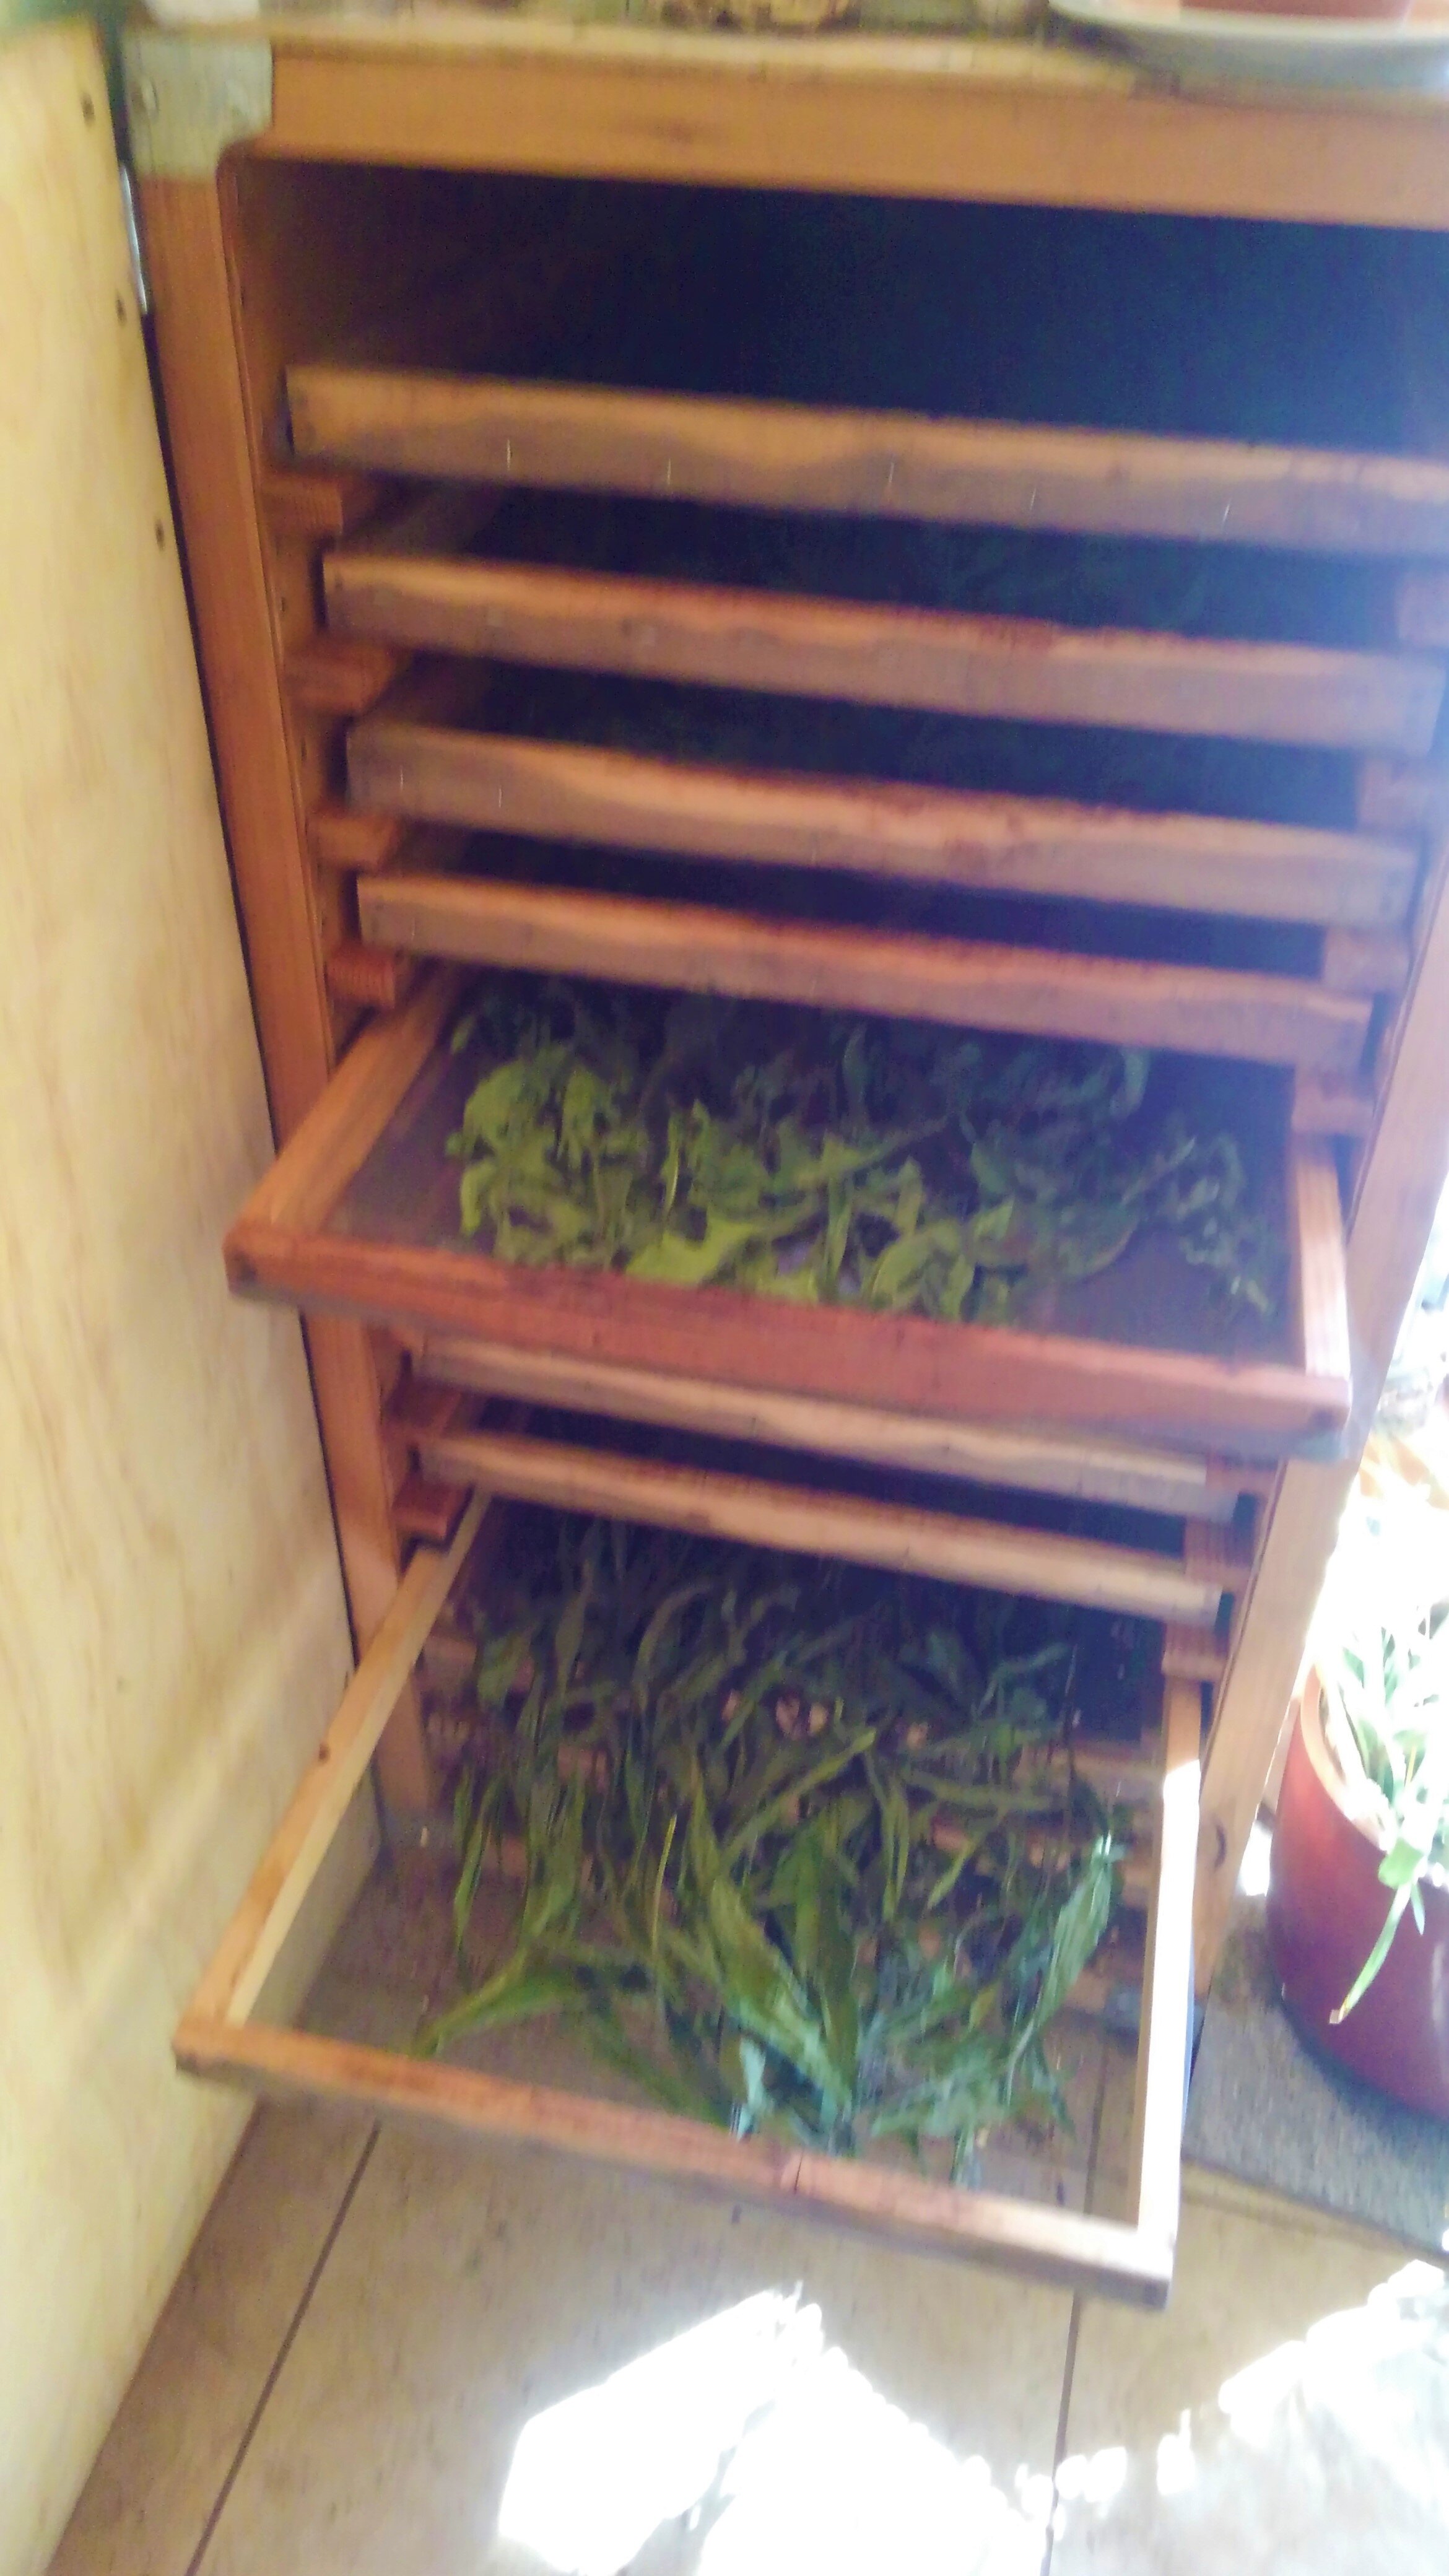
I found that flowers and leafy materials dry really well in there from mid-May to mid-September. And I can really load the shed up, and dry a lot of material. Jeff Carpenter has a wood fired furnace that he uses in the fall and spring. I just don’t use mine as a dryer then, and instead take the shade cloth off and can use it as another greenhouse, or as a covered outside work area. I now have electricity and use a dehydrator for the wet seasons, and for my roots and berries. Leafy materials and flowers do great in the passive solar dryer, but the berries and roots just take too long and are harvested in a wetter season. I built my dehydrator from reclaimed materials I got from the Re-store. I found the frame there for $15 bucks, and built some racks with spare lumber and screens I had on hand. Then I used the heating and drying elements from fruit dehydrators I got from the good will. All in all, I spent maybe $100 on my dehydrator. Something comparable would be around $800 or more. And with the cost of lumber these day’s probably a whole lot more.
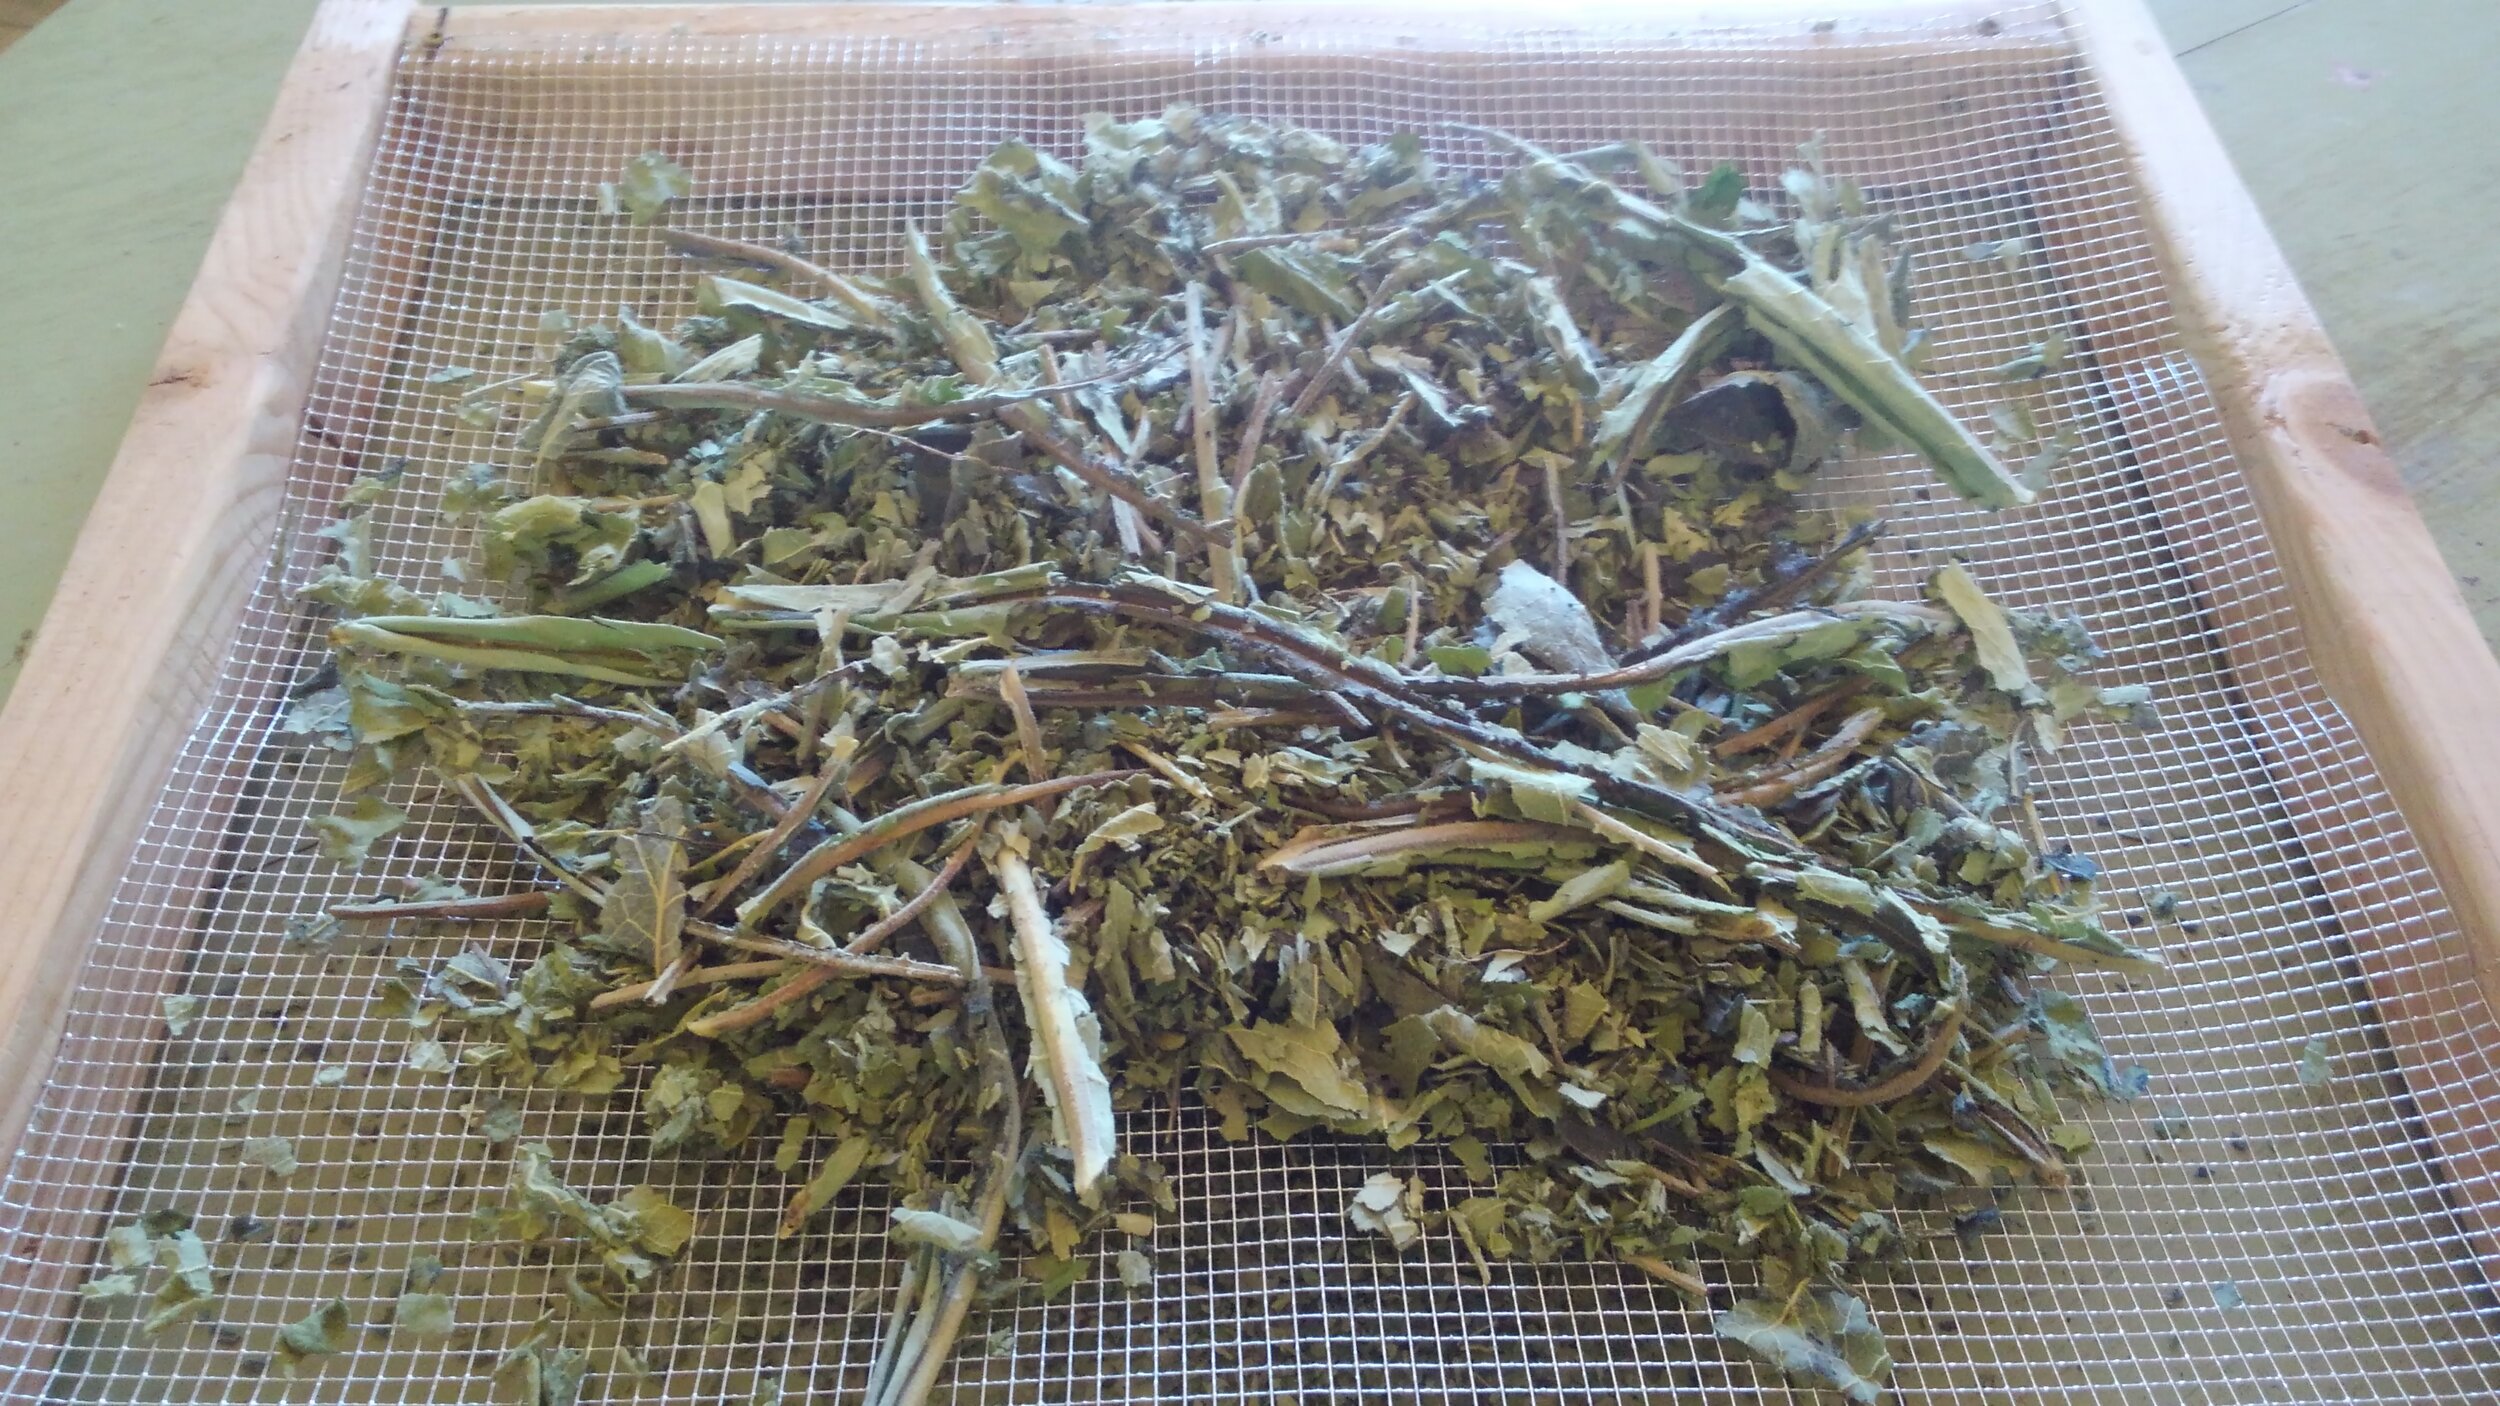
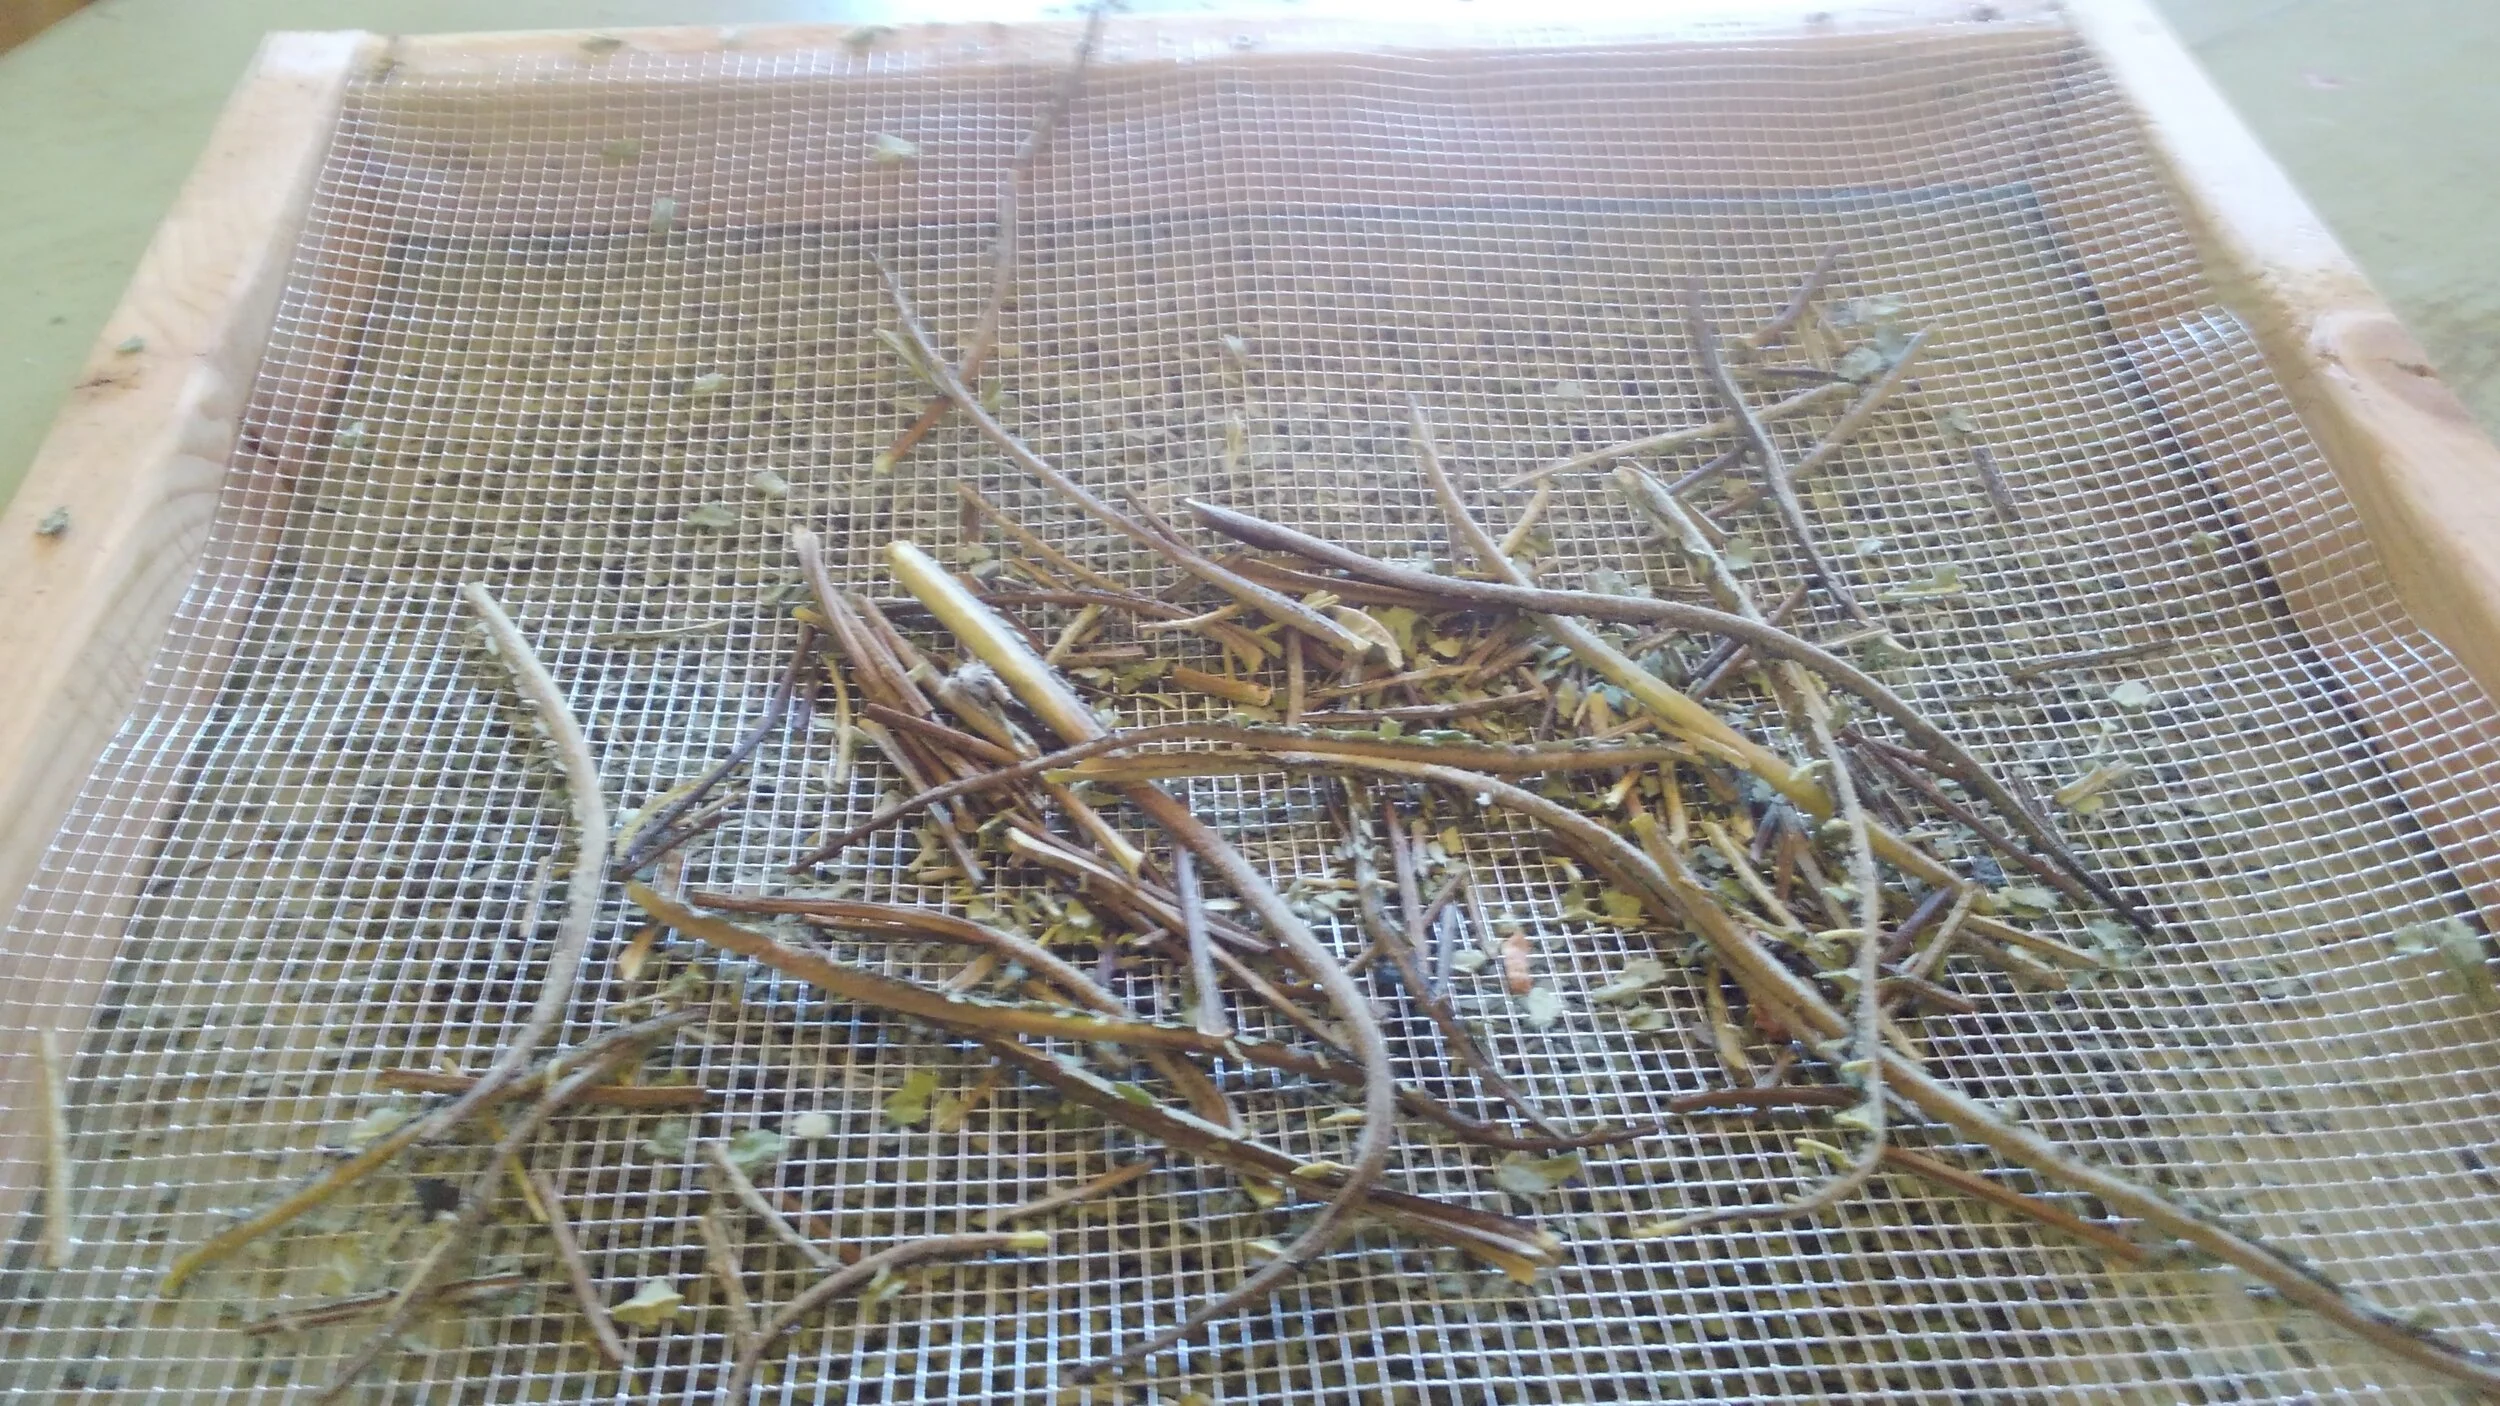
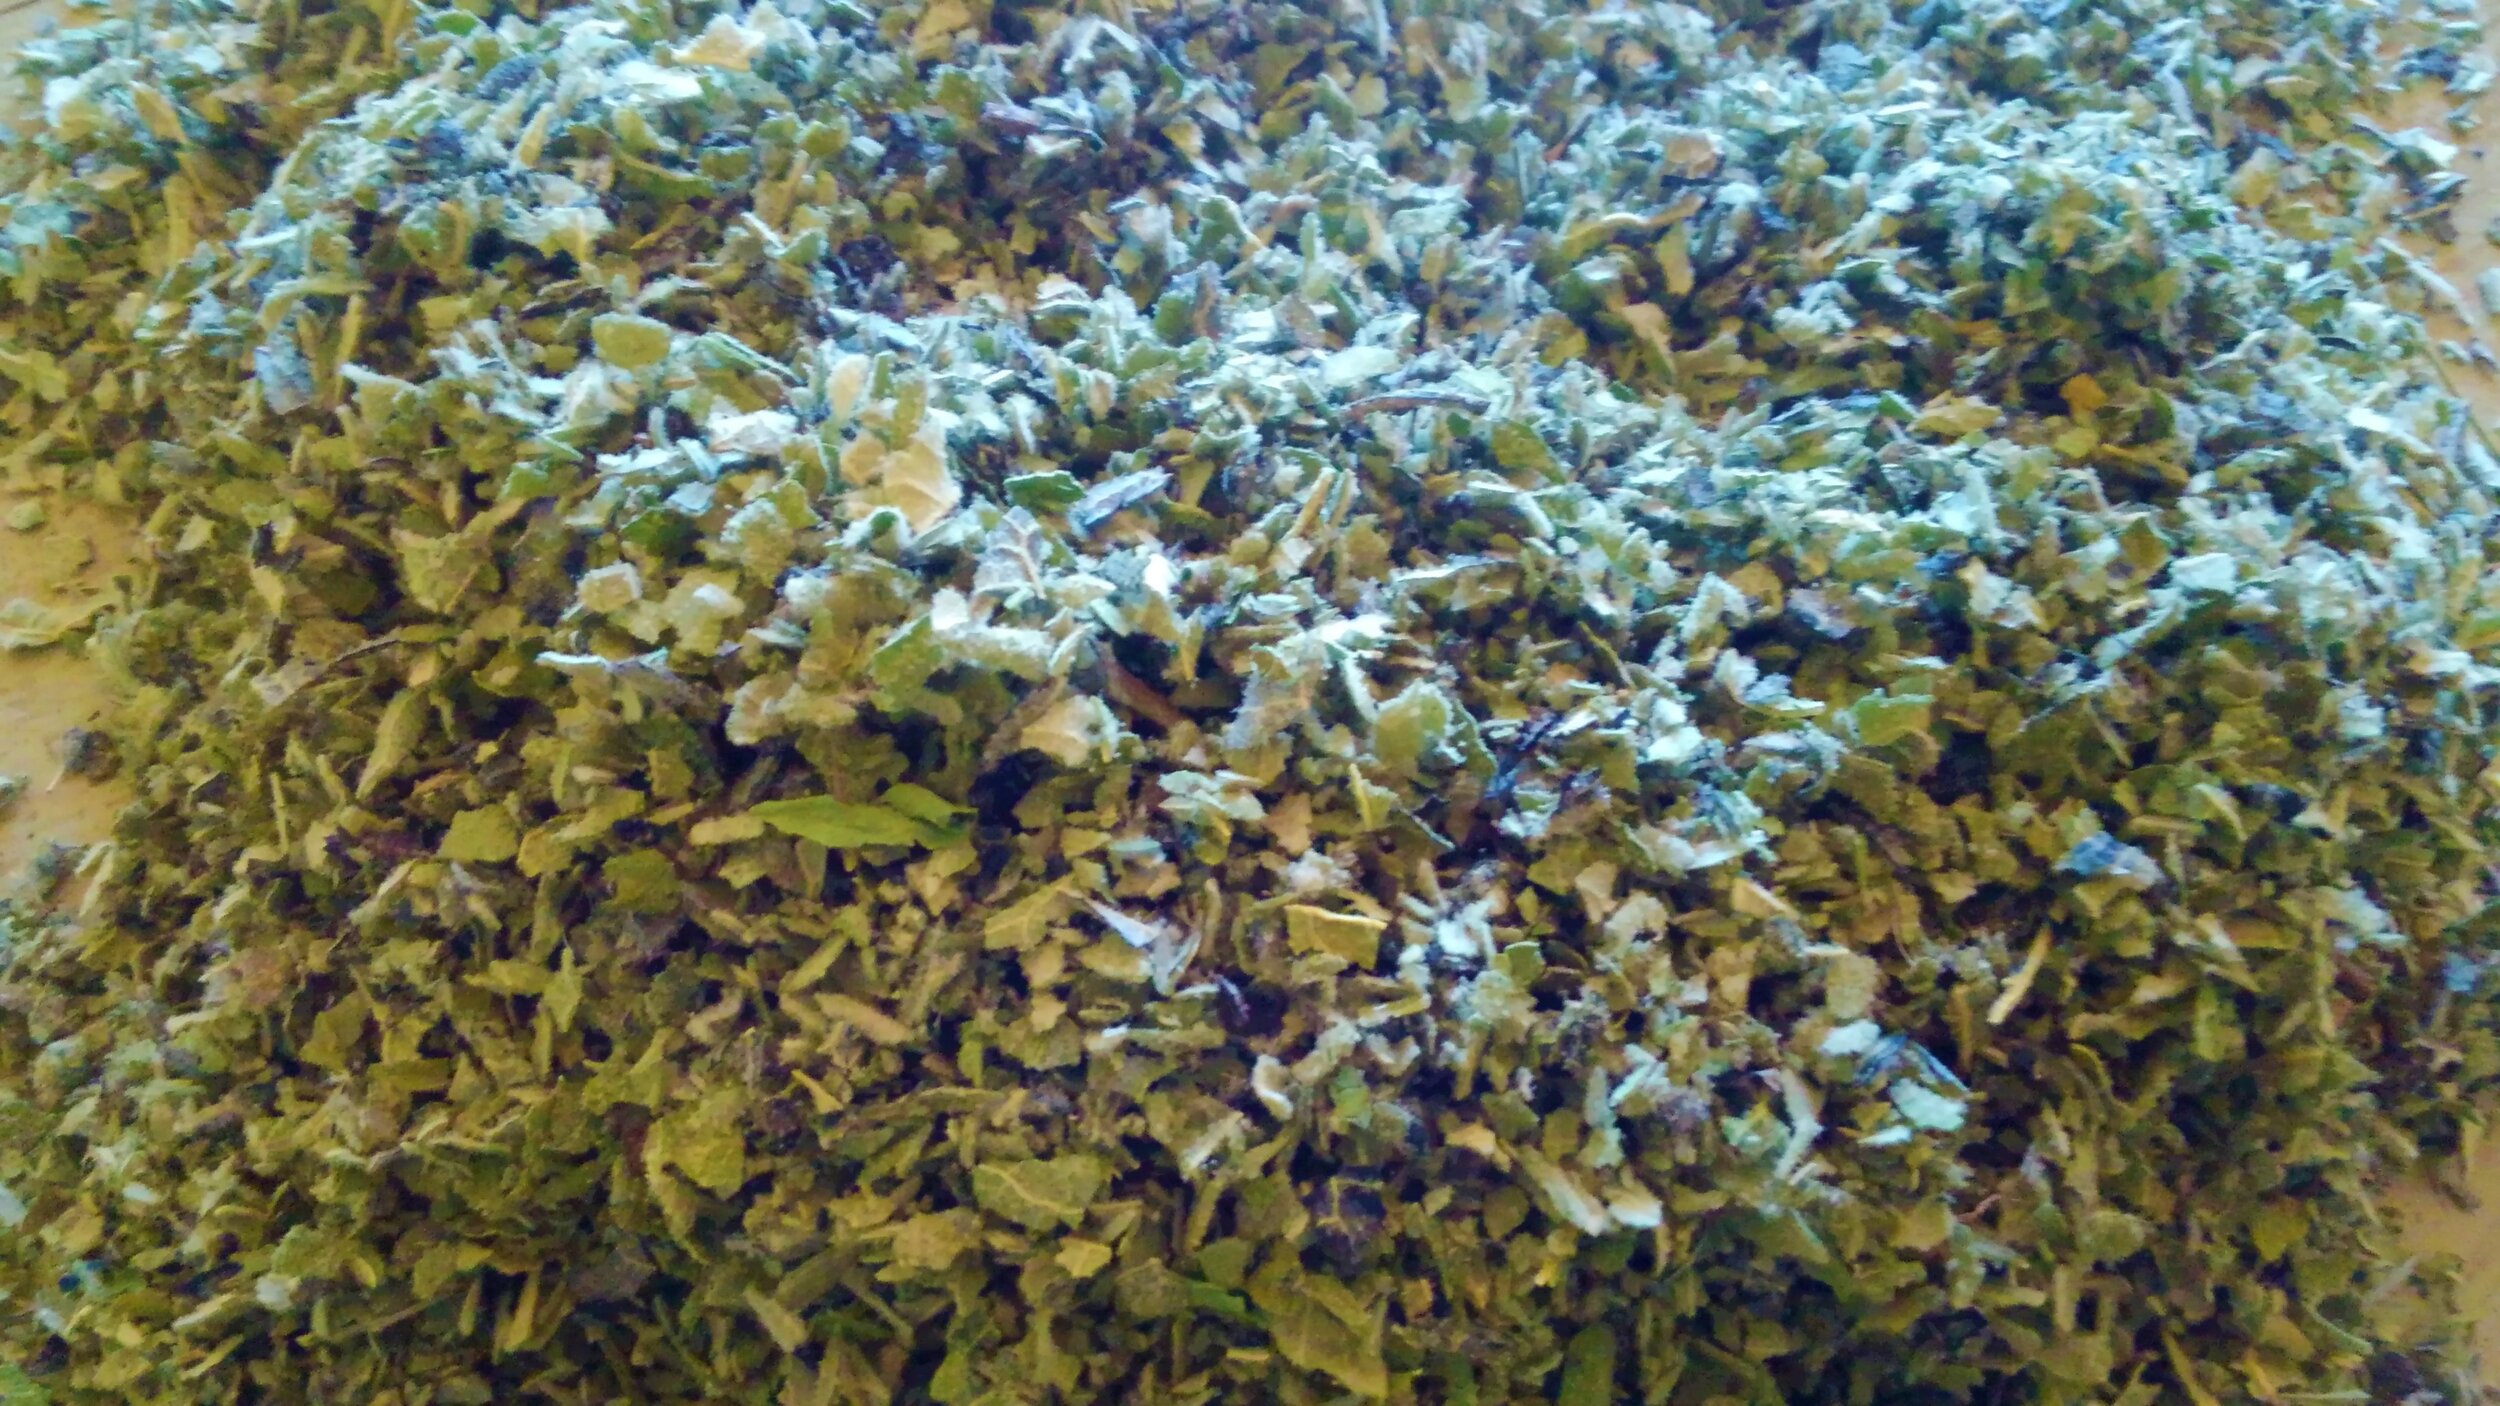
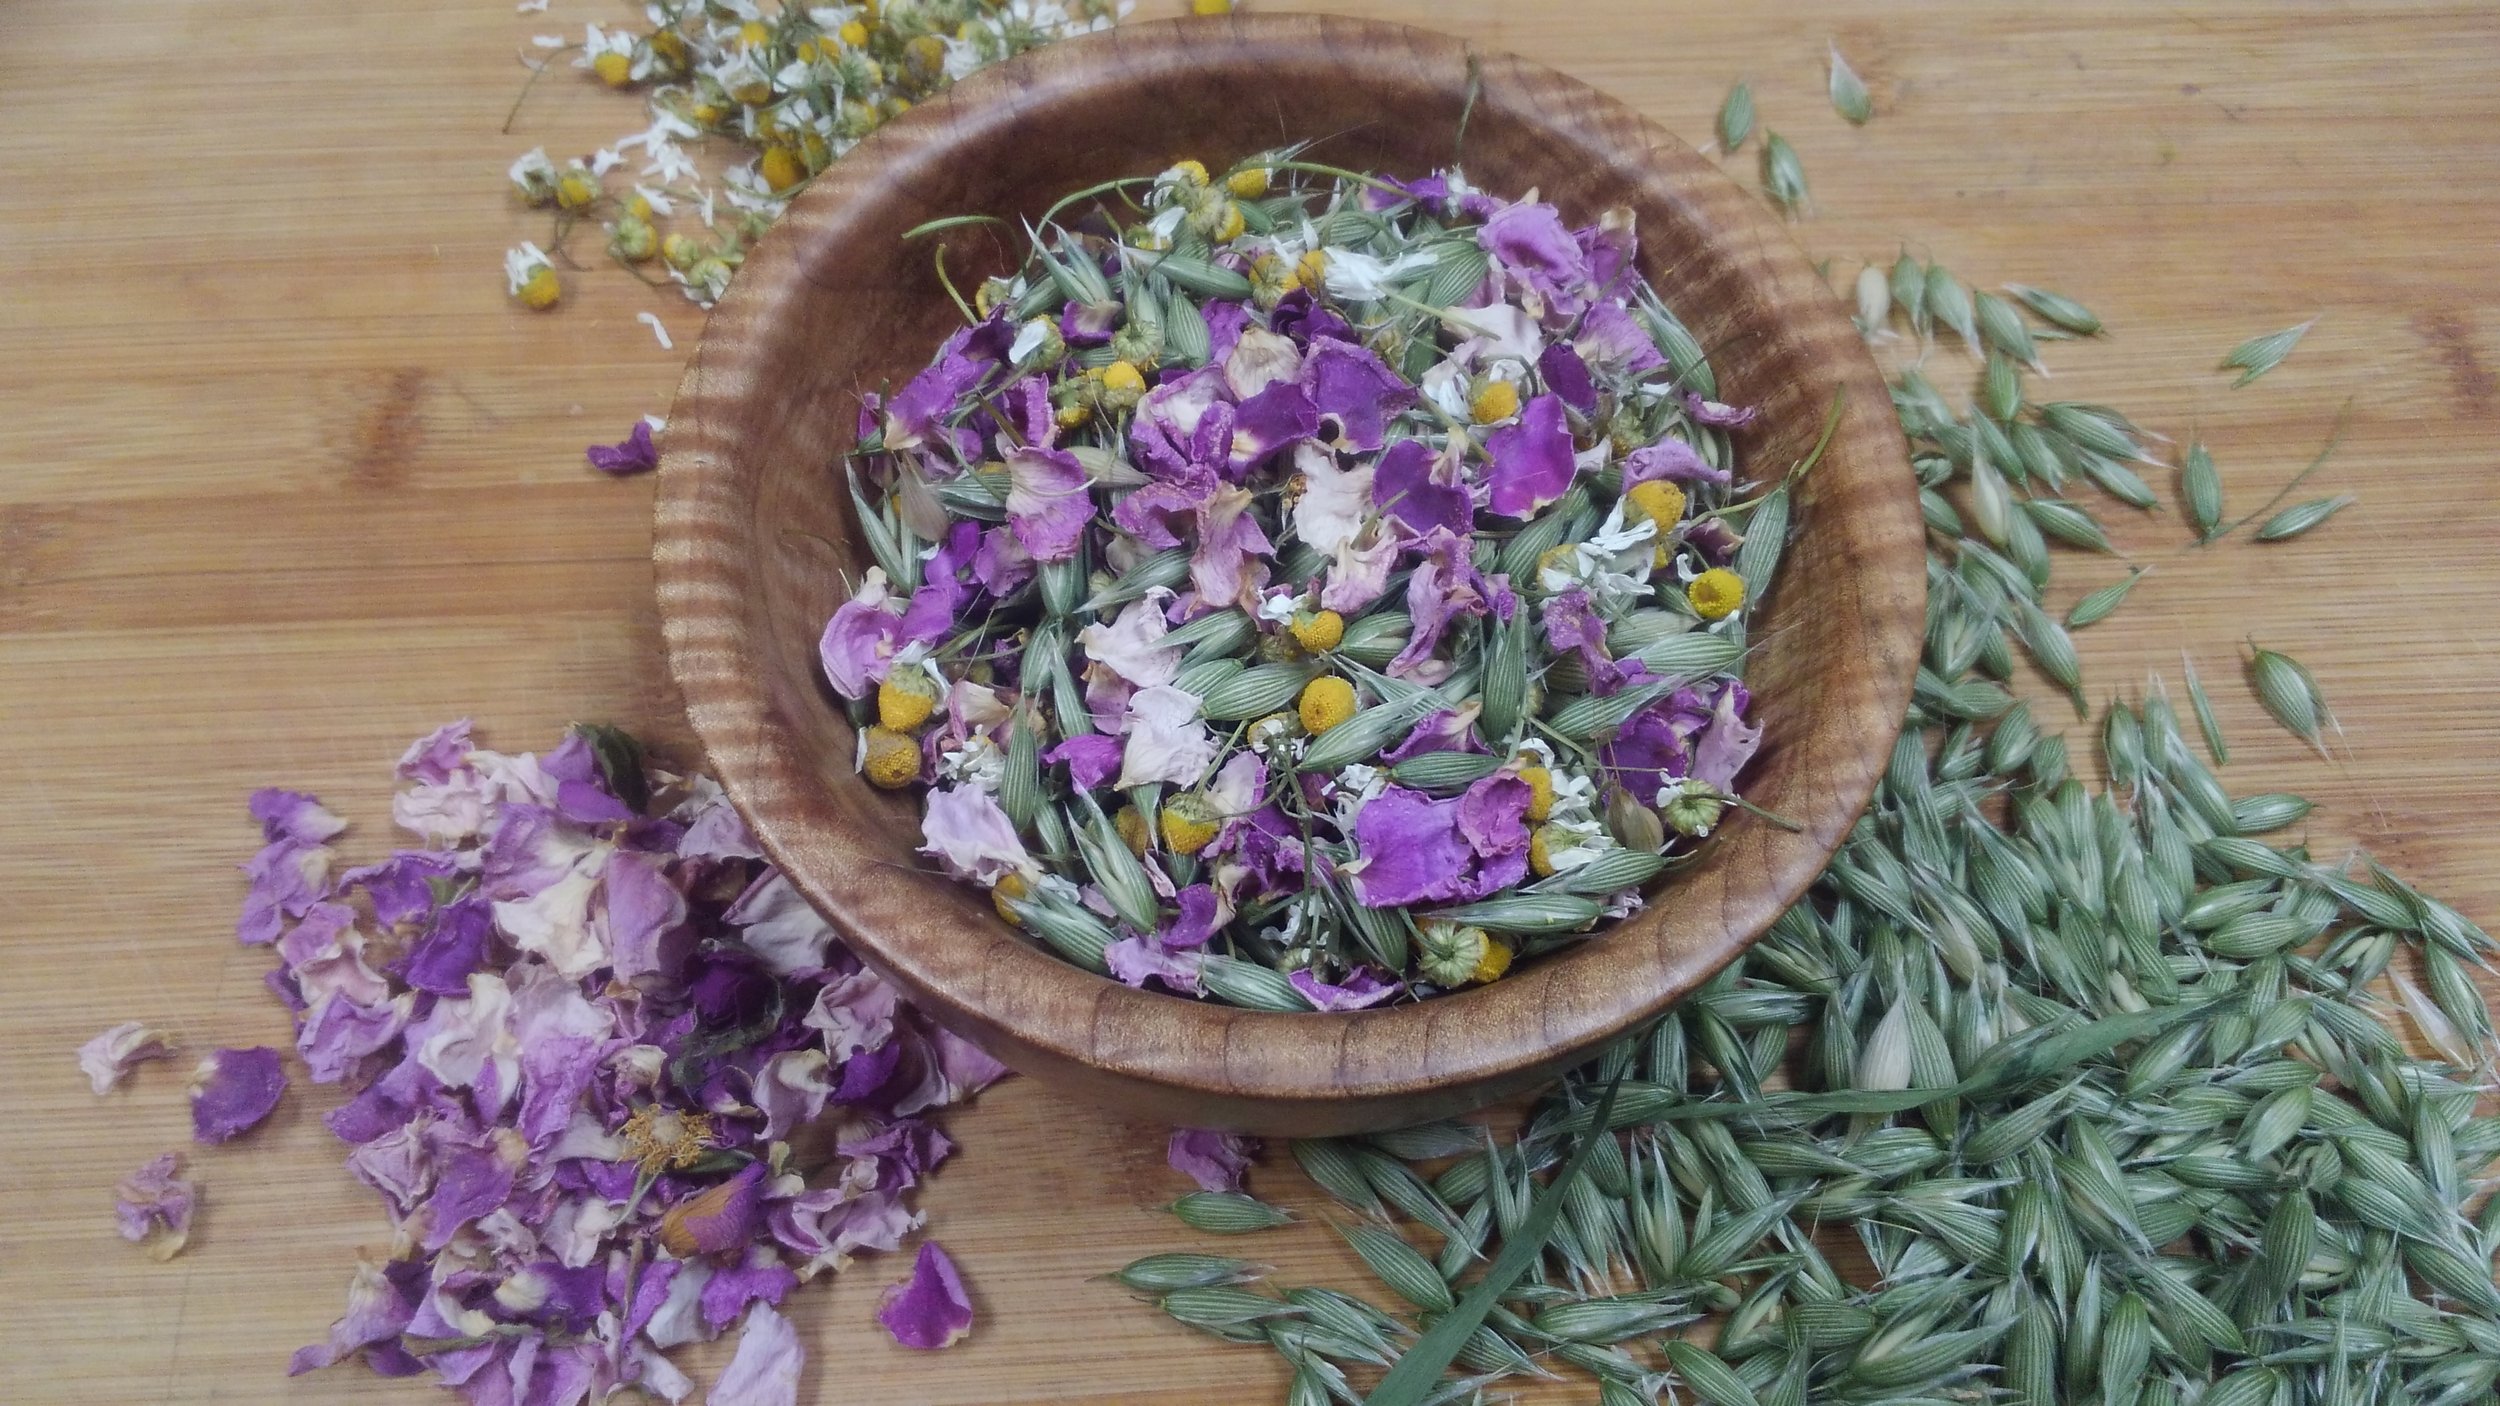
When herbs are finished drying, it’s time to garble them. This is the process of de-stemming and making the material an even size. I built a few screens for this purpose with spare 2x4’s and 1/8inch wire mesh I had on hand. I run the dried herbs over the screen and the big material stays on top while the even cleaned material we want for medicine goes through the screen. Compost the big stems and bag up the dried herb ready for storage. I always wear gloves, long sleeves and a mask at this point, because garbling herbs can release lots of fine particles and hairs that can be super irritating to the skin and mucus membranes, its also hygienic.
Hope this info gives you some inspiration for your own drying set ups and shows that you don’t need a lot of money to make it happen!